Advanced Electronics X-Ray Inspections Solutions by ELT Technology
Advanced Electronics X-Ray Inspection Solutions by ELT Technology
Cutting-Edge Non-Destructive Testing for Electronic Manufacturing Excellence
ELT’s Electronics X-Ray Solutions
Experience and Capabilities
- Advanced non-destructive testing solutions
- Thorough inspection and analysis of components
- Ensures quality and reliability
- Global leader in X-ray technology
- Expertise in electronic manufacturing
- Specializes in defect detection
- Comprehensive X-ray solutions
- Leading in advanced inspection technology
Industries Used-in
- SMT (Surface Mount Technology)
- DIP (Dual In-line Package)
- Automotive electronics
- LED industry
- Photovoltaic industry
Use Applications
- Detection of defects in PCB boards
- Inspection of SMT assemblies
- IC packaging defect detection.
- BGA (Ball Grid Array) and CSP (Chip Scale Package) bubble welding defect detection
- Semiconductor defect detection
- Comprehensive defect detection for various electronic components
Unbeatable Offer Challenge!
Unbeatable Offer Challenge!
Tell us your needs,
Get the UNMATCHED Quote on X-ray Solutions in the Industry!
– guaranteed to meet your exact needs and budget!
ELT’s Battery X-Ray Machines
Specs Overview
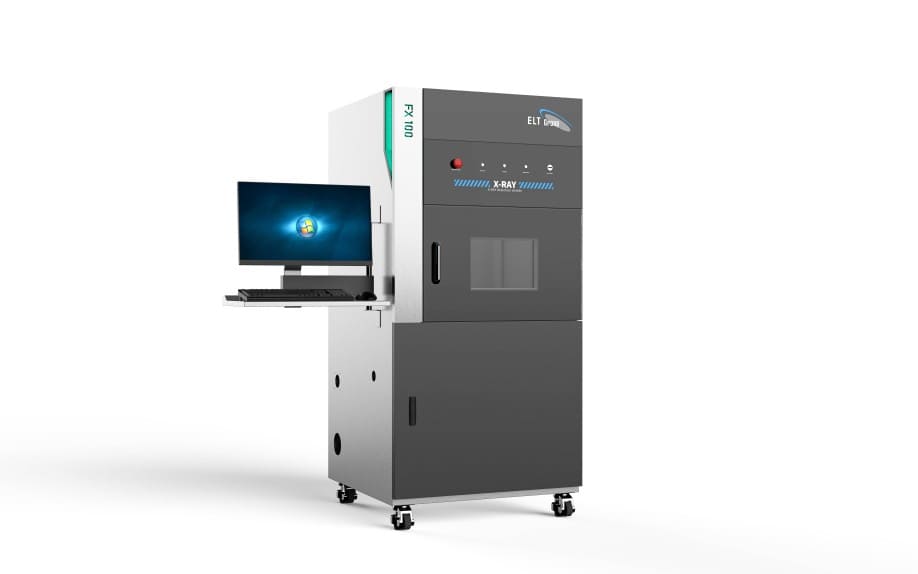
Electronics X-ray Inspection | FX100:
Our advanced detection system is designed specifically to identify welding defects in electronic components, ensuring high-quality standards for various applications.
Functions and Features
- Comprehensive Defect Detection: Specially developed to detect welding defects in a wide range of electronic components including PCB, SMT assembly, IC packaging, BGA, CSP, and semiconductors.
- High Precision: Ensures precise and accurate identification of defects, maintaining the integrity and performance of electronic assemblies.
Detailed Specification
| X-Ray Tube | Tube Style | Seal Tube |
| Tube Voltage | 90KV | |
| Tube Current | 320uA | |
| Details Resolution | 2um | |
| Cooling Mode | Air cooling | |
| Geometry Magnification (Times) | 300 Times | |
| Flat Panel Detector | Pixel Size | 85um |
| Pixel Matrix | 1536*1536 | |
| Effective Imaging Area | 130*130 | |
| FPS Speed | 20 | |
| A/D Conversion Digits | 16bit | |
| Sample Table | Sample Table Area | Diameter 500mm |
| Axis X | 500mm | |
| Axis Y | 500mm | |
| Axis Z1 | 300mm | |
| Axis Z2 | 300mm | |
| Axis Q | tilt70° | |
| Axis R | The Sample Table Rotates Horizontally 360° | |
| Electrical Control | Control Mode | Image automatic navigation function, Point to go there to go there, The whole keyboard, Mouse operation positioning |
| Programming Mode | Teaching Function, CNC Automatic Positioning | |
| X-Ray Housing | Size | about 1450*1360*1600mm |
| Weight | about 1600 kg | |
| Power | Power Supply | AC110-230VAC, 50/60Hz |
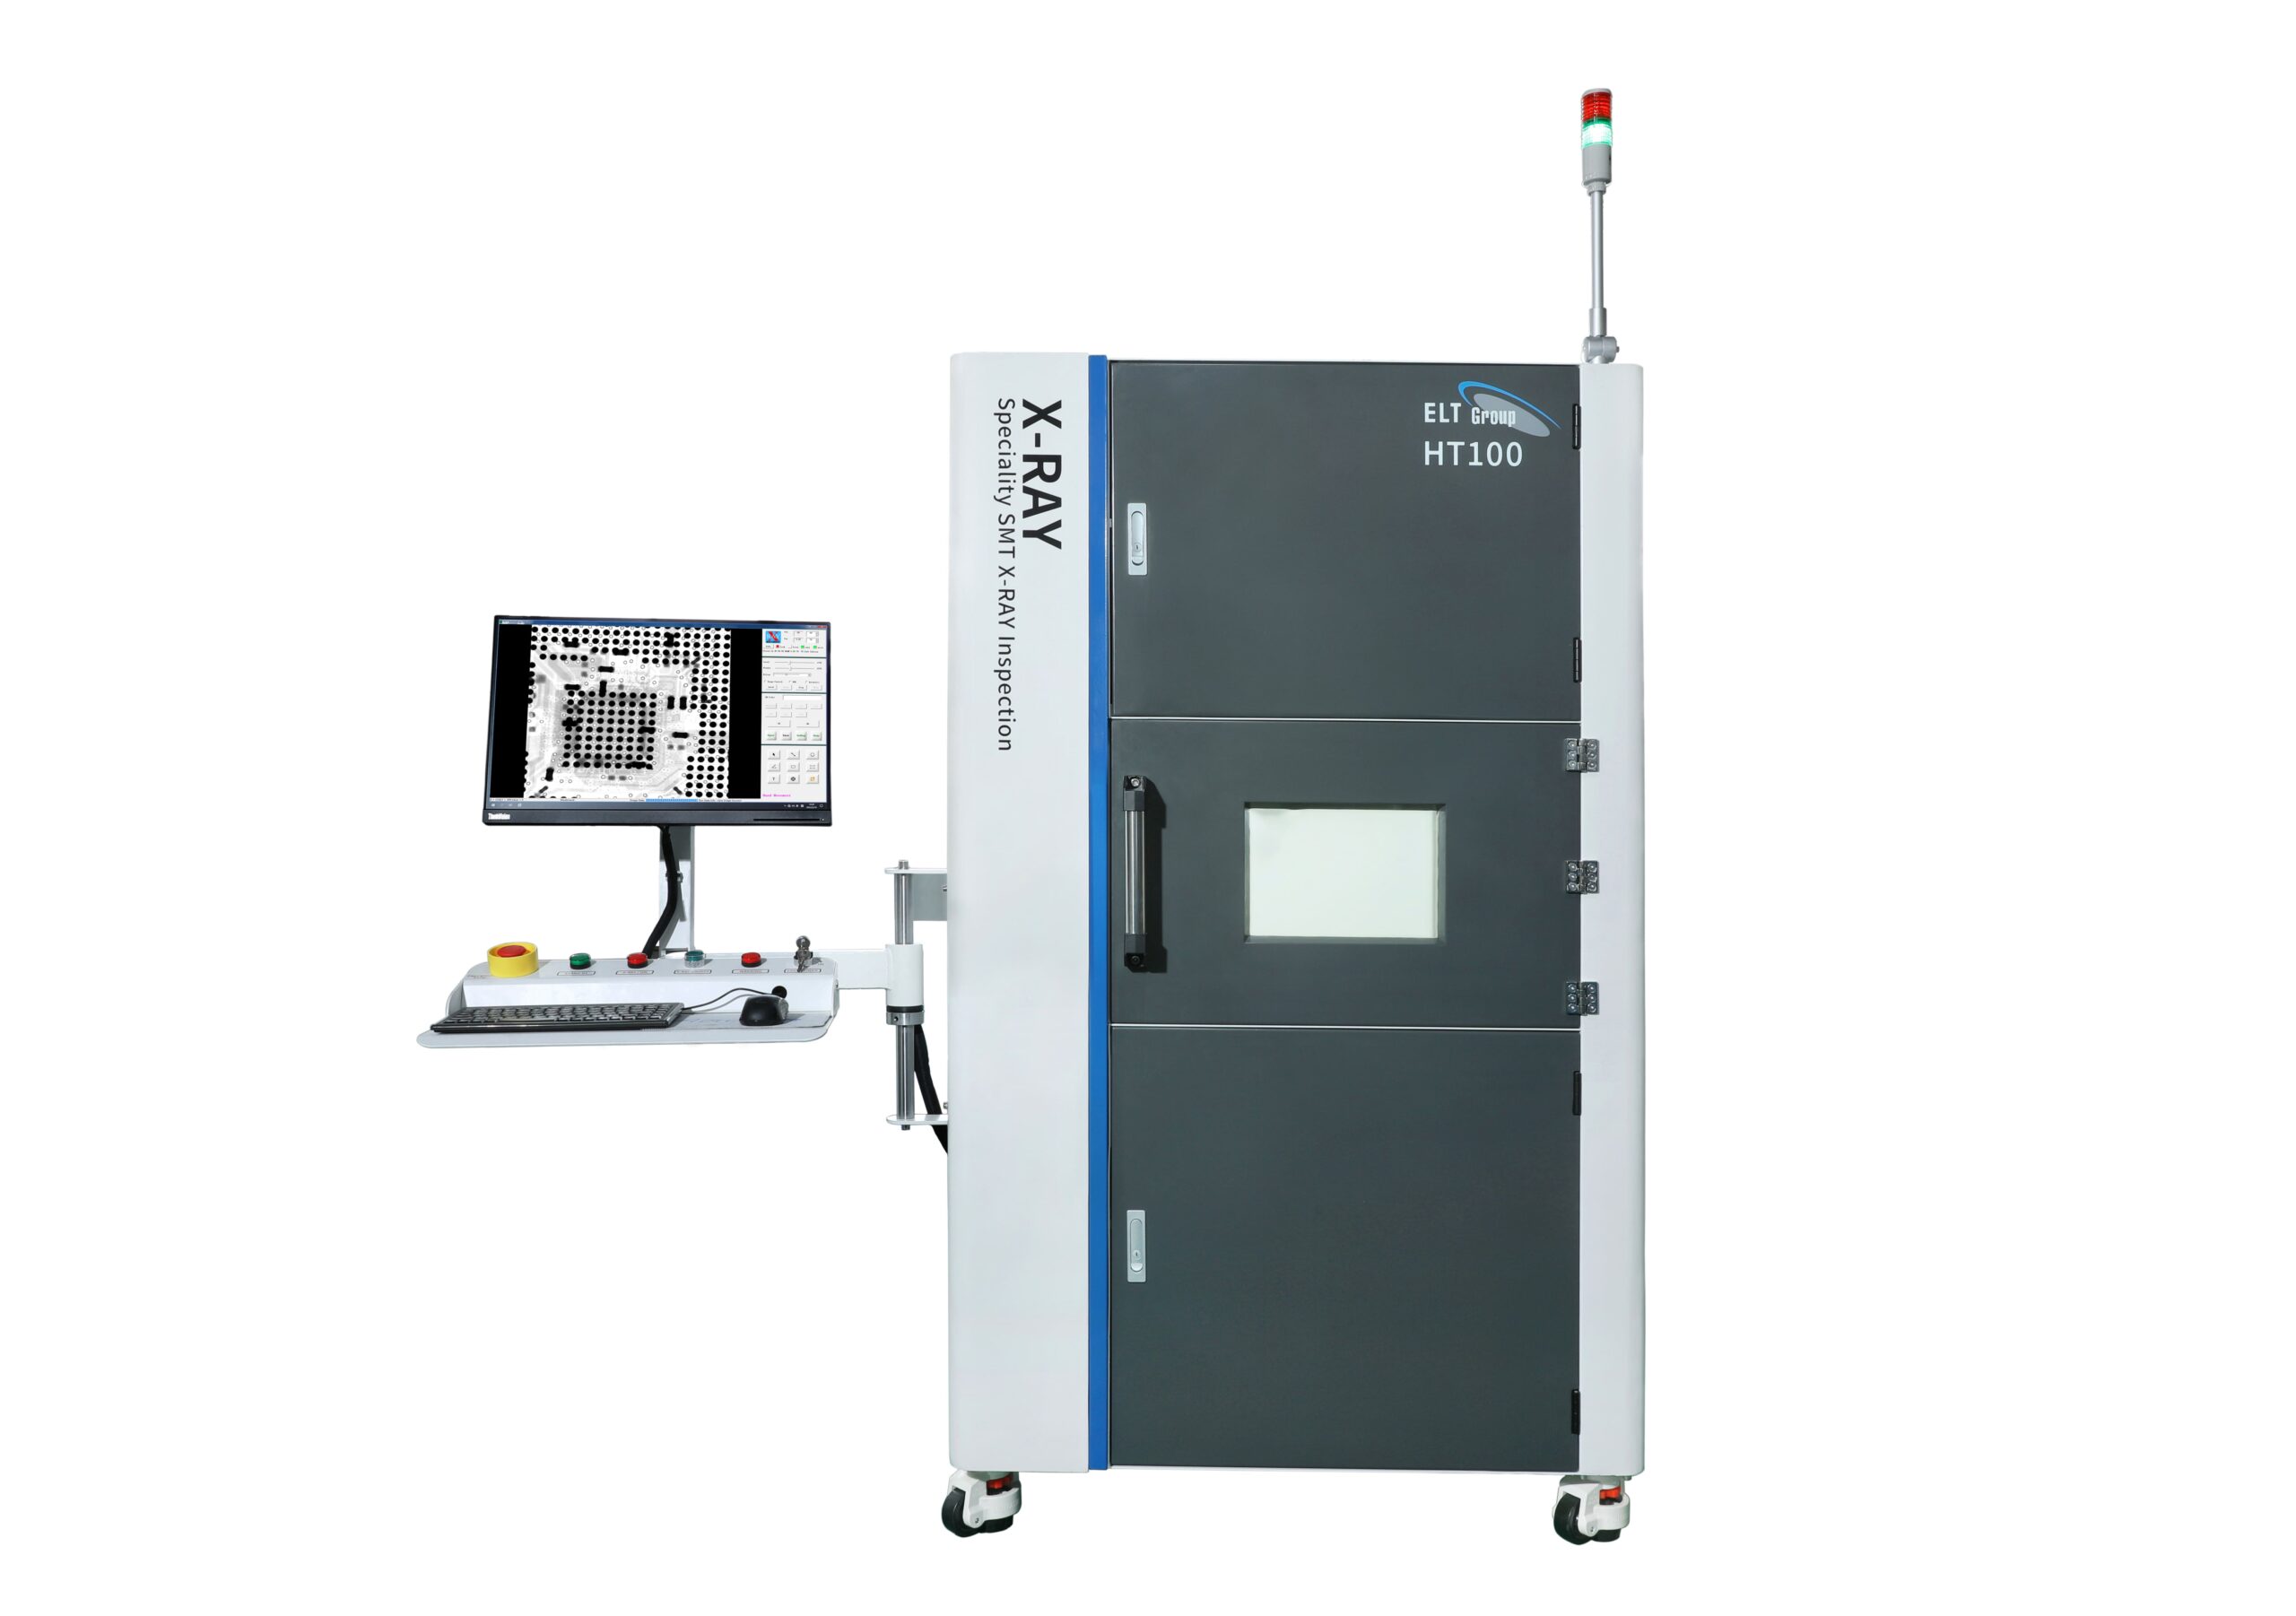
Electronics X-ray Inspection | HT100:
Introducing our another cutting-edge inspection system designed to detect welding defects in electronic components, providing unparalleled accuracy and reliability for quality assurance.
Functions and Features
- Versatile Application: Ideal for detecting welding defects in PCB, SMT assembly, IC packaging, BGA, CSP, and semiconductor components.
- High Accuracy: Delivers precise and reliable defect detection to ensure the highest quality standards in electronic manufacturing.
- Comprehensive Coverage: Thoroughly inspects a wide variety of electronic components to identify and address potential issues early in the production process.
Detailed Specification
| X–Ray Tube | Tube style | Sealed Tube |
| Tube voltage | 90KV | |
| Tube Current | 200uA | |
| Details Resolution | 5um | |
| Cooling Mode | Cooling Air | |
| Geometric Magnification Time | 125 Times | |
| Flat Panel Detector | Pixel Size | 85um |
| Pixel Matrix | 1536*1536mm | |
| Effective Imaging Area | 130*130mm | |
| FPS Speed | 20 | |
| A/D Conversion Digits | 16bit | |
| Sample table | Axis X | 400mm |
| Axis Y | 450mm | |
| Axis Z | 300mm | |
| Axis R | Sample table rotation plus or minus 60° | |
| Electrical control | Control Mode | Image automatic navigation function, Point to go there to go there, The whole keyboard, Mouse operation positioning |
| Programming Mode | Teaching function, CNC automatic positioning | |
| X-Ray Housing | Size | about 1100㎜* 1255㎜ *1865㎜ |
| Weight | about 1100 kg | |
| power | Power Supply | AC110-230VAC, 50/60Hz |
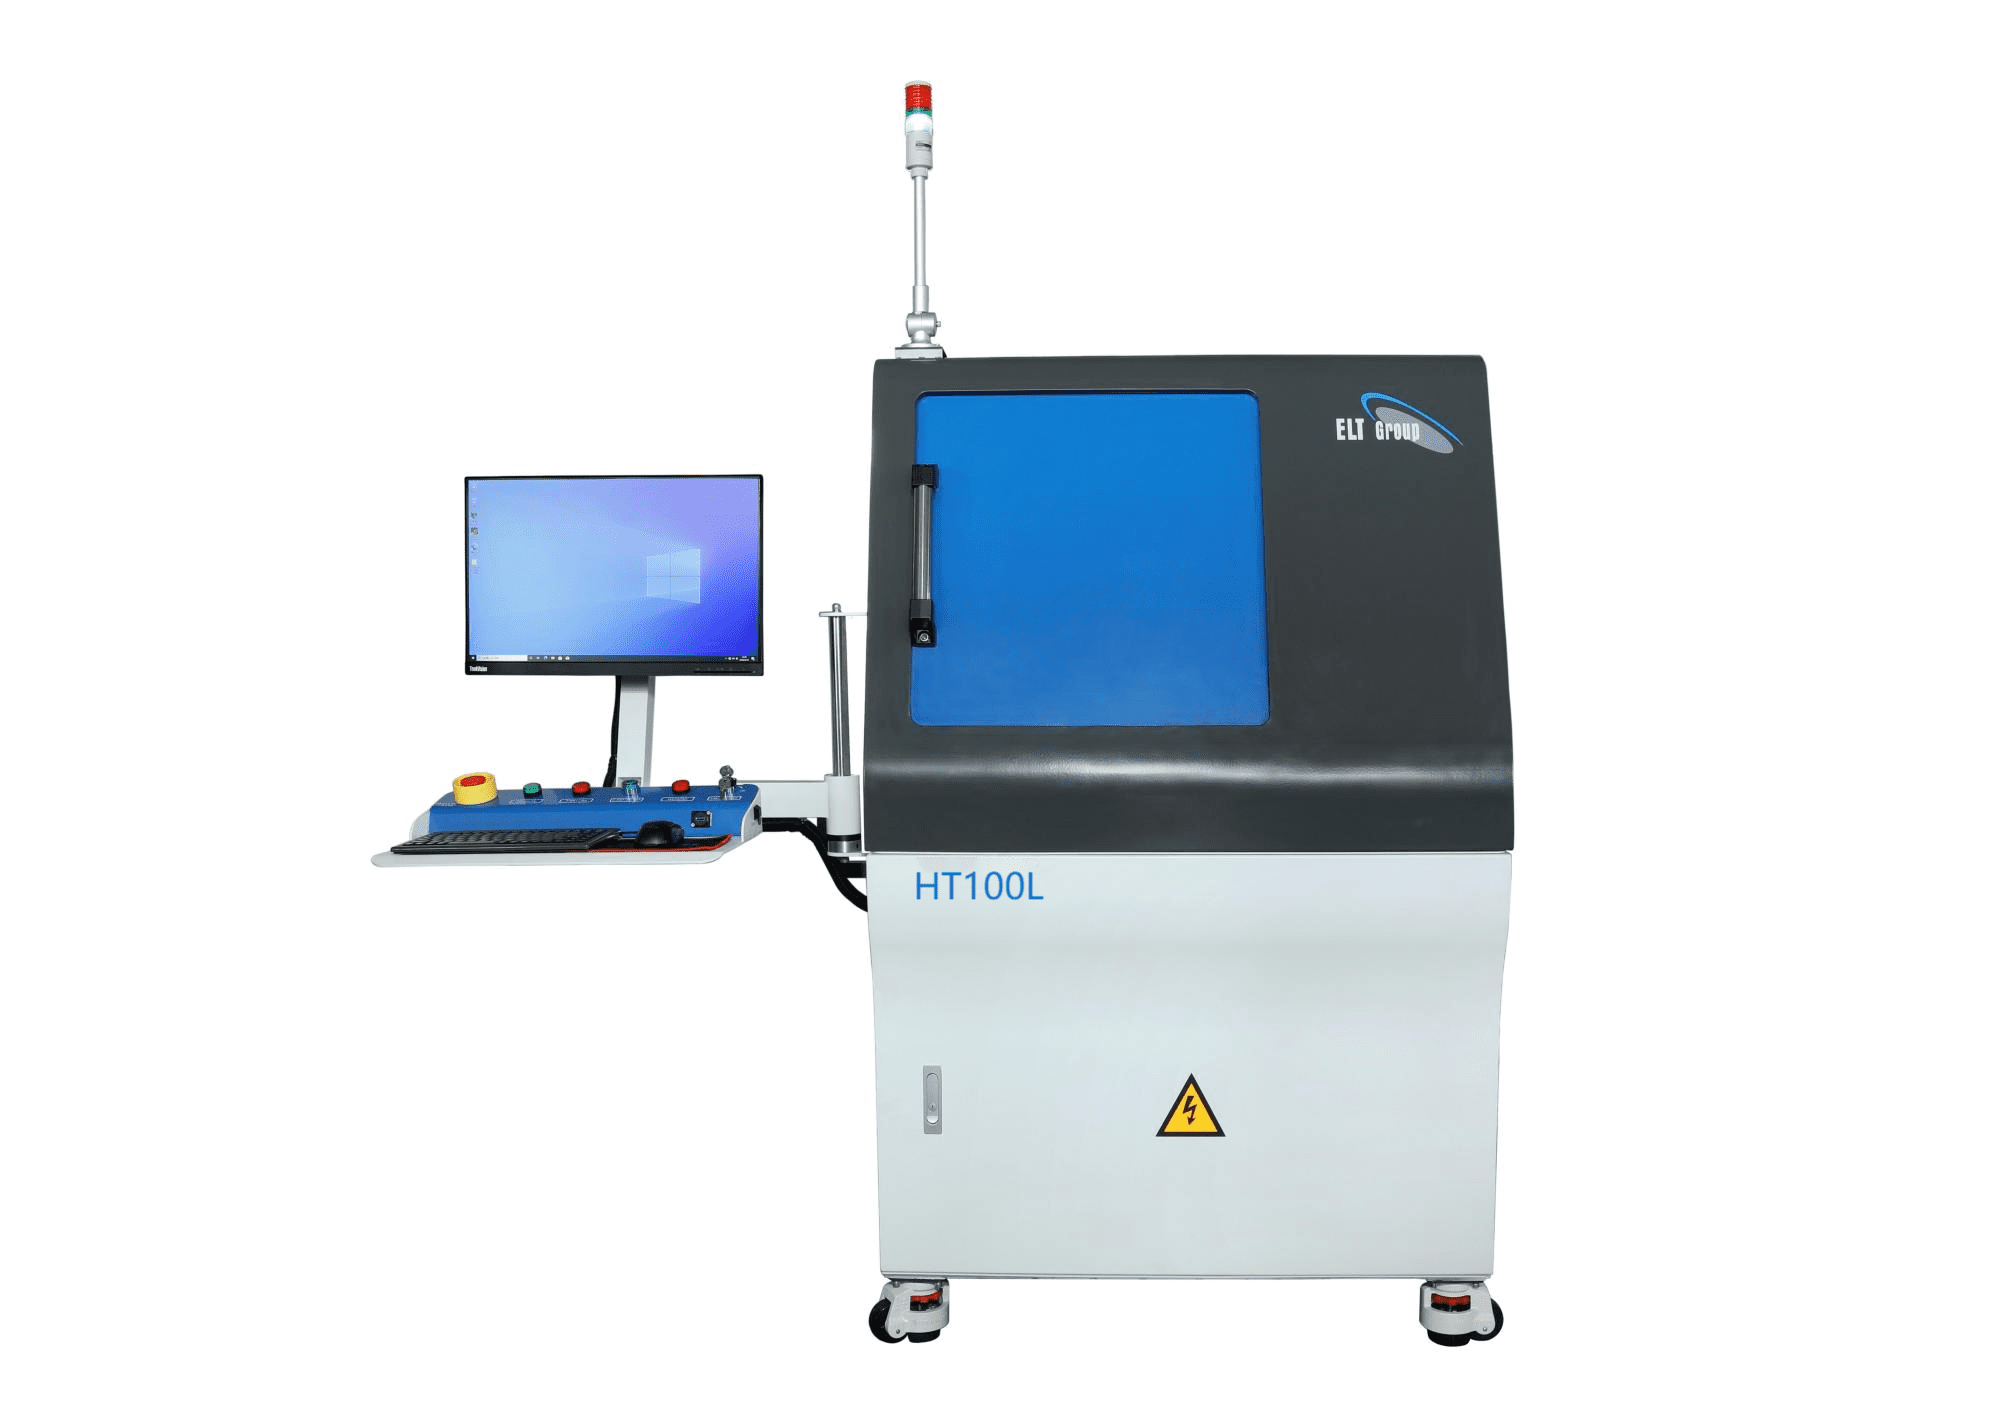
Electronics X-ray Inspection | HT100L:
Experience the precision and reliability of our X-ray detection system, designed for use in semiconductor, SMT, DIP, and various electronic component inspections, including IC, BGA, CSP, and flip chips.
Functions and Features
- Versatile Detection: Suitable for inspecting semiconductors, SMT, DIP, electronic components, ICs, BGAs, CSPs, and flip chips.
- High-Resolution Imaging: Equipped with high-resolution FPD to obtain high-quality images, capable of detecting defects as small as 2µm.
- Automatic Positioning: Features CNC programming for automatic positioning and 45° tilt detection with a small opening angle.
- Enhanced Imaging: Real-time navigation imaging and HDR image enhancement function ensure clear and detailed visual output.
- Comprehensive Measurement Tools: Includes tools for measuring size, area, angle, and curvature, facilitating thorough inspection and analysis.
Detailed Specification
| X-Ray Tube | Tube Style | Sealed Tube |
| Tube Voltage | 100KV | |
| Tube Current | 150uA | |
| Detail Resolution | 2um | |
| Cooling Mode | Air Cooling | |
| Geometry Magnification Time | 300 Times | |
| Flat Panel Detector | Pixel Size | 85um |
| Pixel Matrix | 1536*1536mm | |
| Effective Imaging Area | 130*130mm | |
| FPS Speed | 20FPS | |
| A/D Change | 16bit | |
| Sample Table | Axis X | 400mm |
| Axis Y | 450mm | |
| Axis Z | 200mm | |
| Axis R | Tilt 45° | |
| Electrical Control | Control Mode | Image automatic navigation function, Point to go there to go there, The whole keyboard, Mouse operation positioning |
| Programming Mode | Teaching Function, CNC Automatic Positioning | |
| X-Ray Housing | Size | About 1005㎜* 1180㎜ *1625㎜ |
| Weight | about 1400 kg | |
| Power | Power Supply | AC110-230VAC, 50/60Hz |
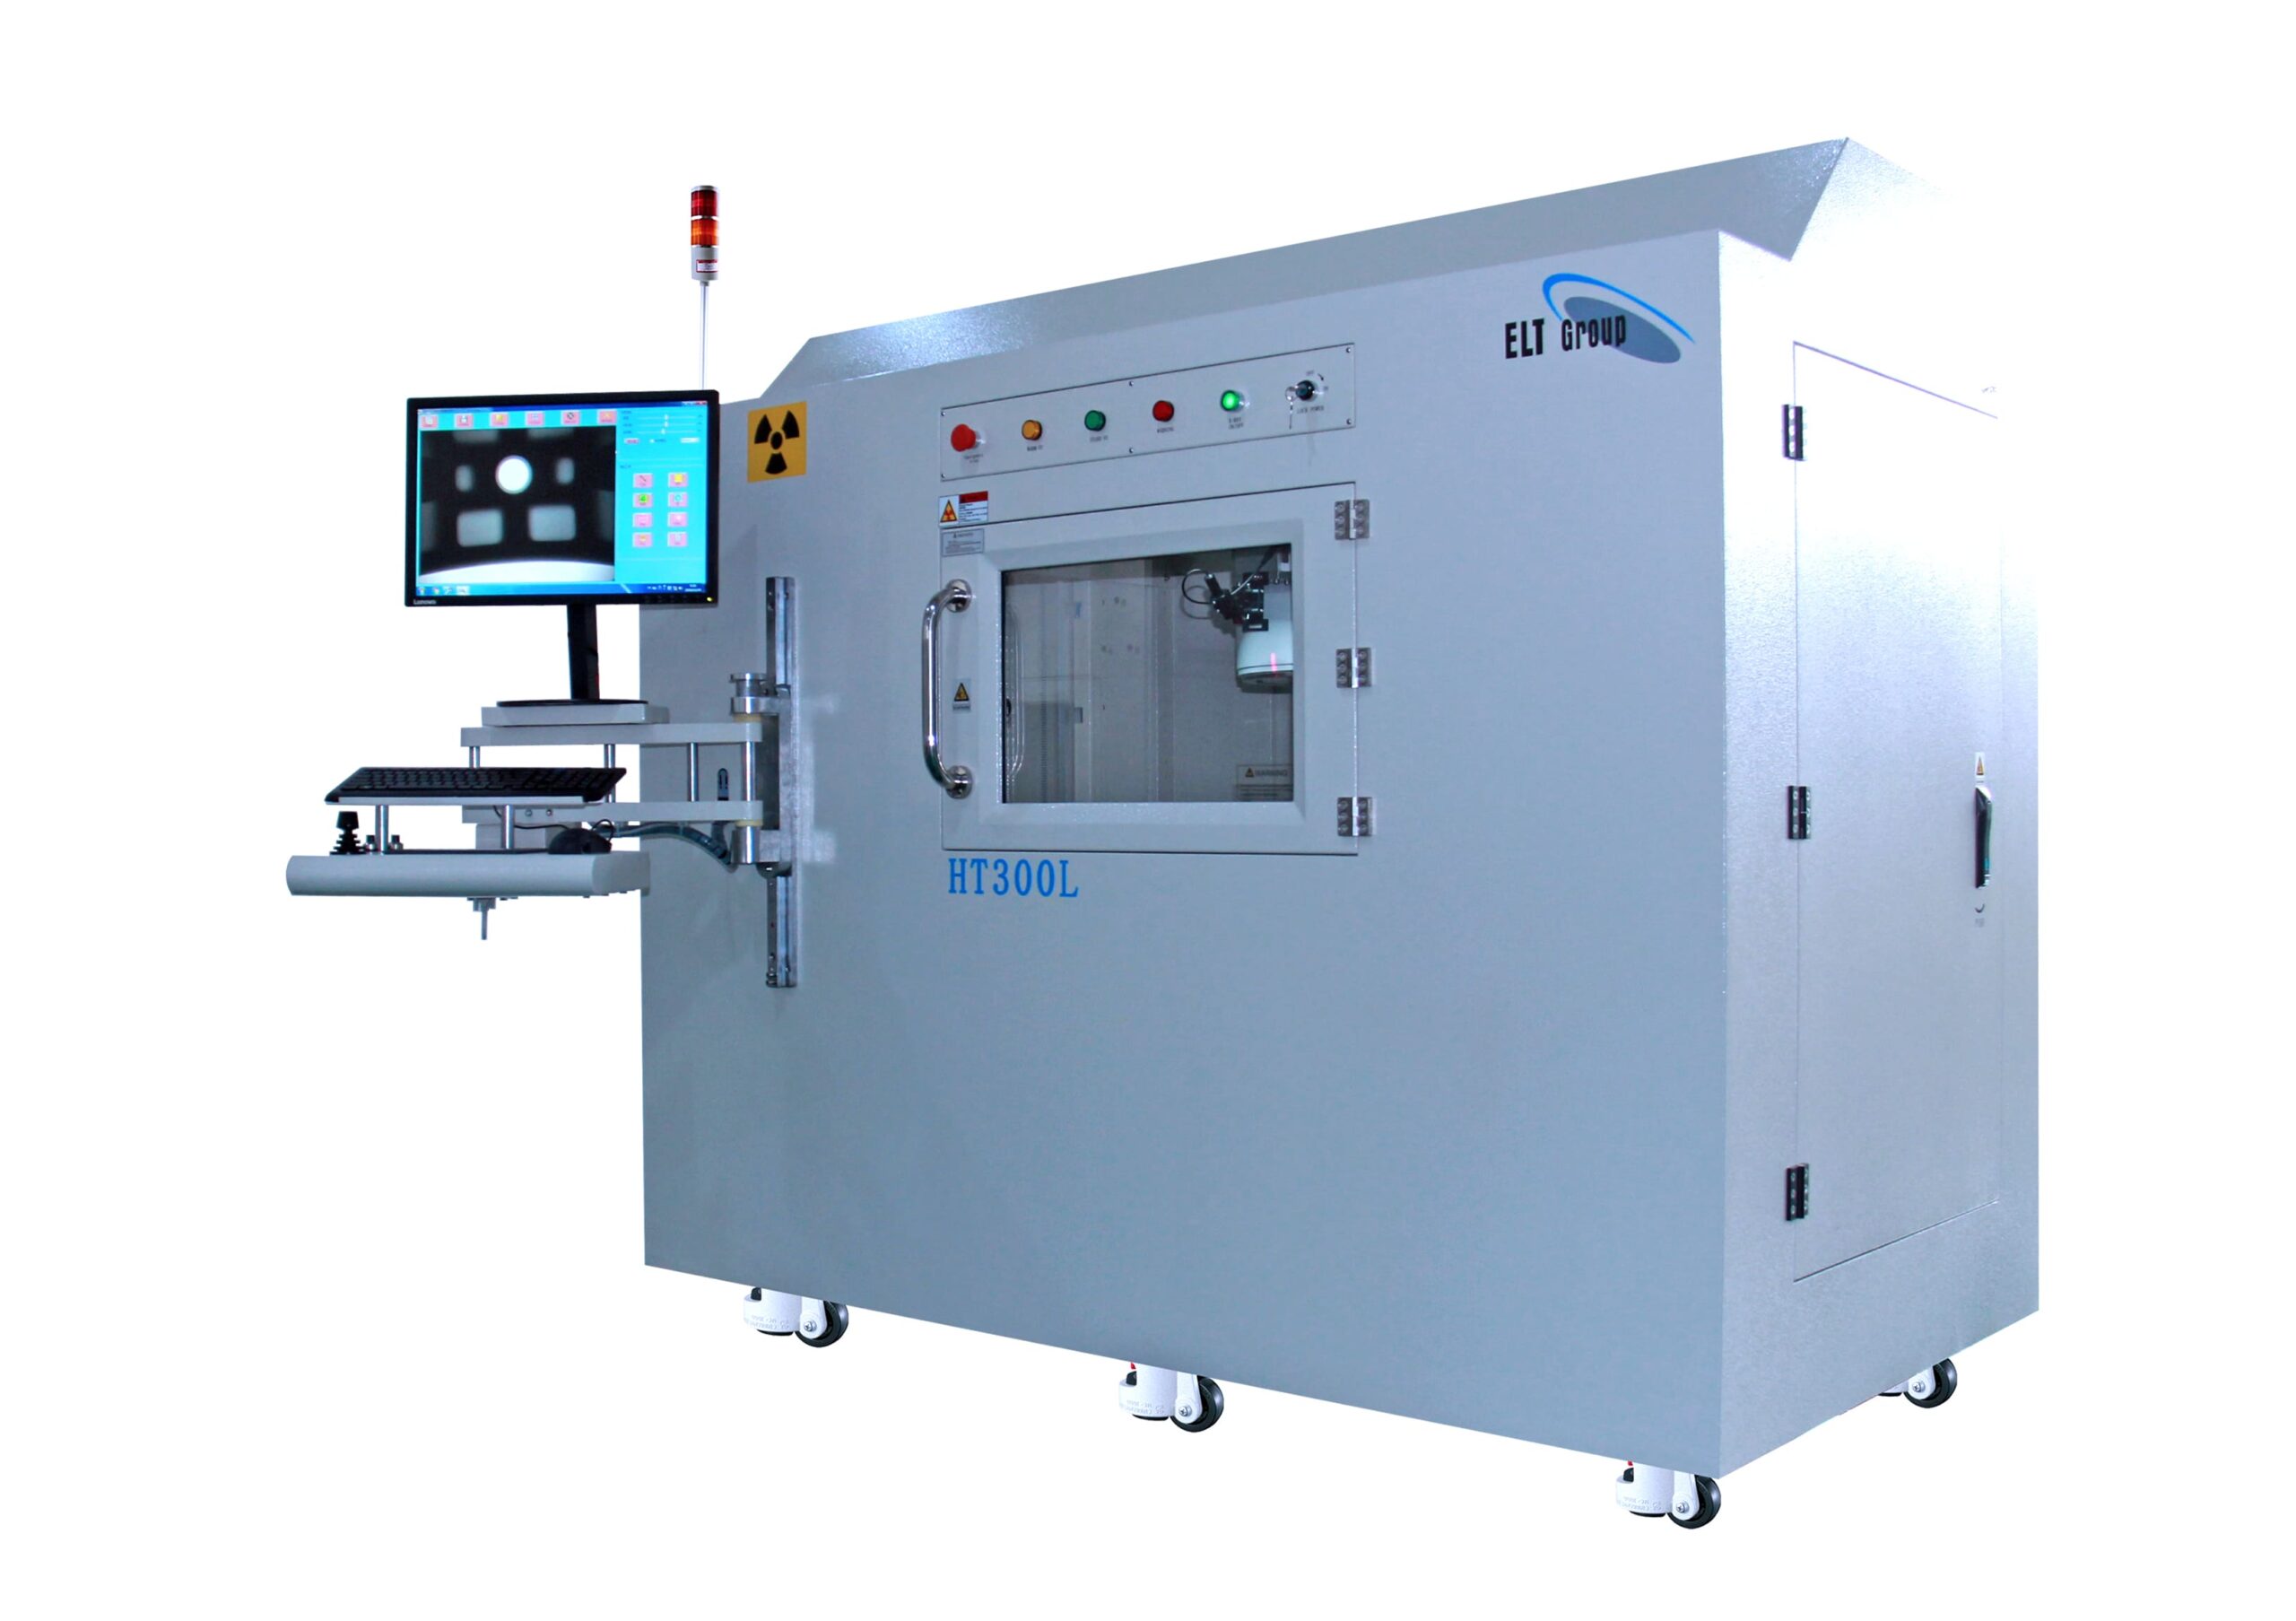
Electronics X-ray Inspection | HT300L:
Our advanced X-ray detection system is engineered for semiconductor, SMT, DIP, and a variety of electronic components, including ICs, BGA, CSP, and flip chips, delivering unparalleled precision and efficiency.
Functions and Features
- Wide Range of Applications: Designed for semiconductor, SMT, DIP, electronic components, IC, BGA, CSP, and flip chip inspections.
- High-Quality Imaging: Utilizes high-resolution FPD to capture superior quality images, detecting defects as small as 2µm.
- Automatic Positioning: CNC programming allows for automatic positioning and a 45° tilt detection with a small opening angle for comprehensive inspections.
- Enhanced Visualization: Real-time navigation imaging paired with HDR image enhancement provides clear and detailed images.
- Advanced Measurement Tools: Equipped with tools to measure size, area, angle, and curvature, ensuring accurate and thorough inspection results.
Detailed Specification
| Tube Style | Tube Style | Sealed Tube |
| Tube Voltage | 90KV | |
| Tube Current | 150uA | |
| Detail Resolution | 5um | |
| Cooling Mode | Air Cooling | |
| Geometric Magnification Time | 125 Times | |
| Flat Panel Detector | Pixel Size | 85um |
| Pixel Matrix | 1536*1536 | |
| Effective Imaging Area | 130*130 | |
| FPS Speed | 20 | |
| A/D Change | 16bit | |
| Sample Table | Sample Table | 1670*510 |
| Axis X | 1500mm | |
| Axis Y | 500mm | |
| Axis Z1 | 220mm | |
| Axis Z2 | 250mm | |
| Electrical Control | Control Mode | Step Function, Manual Feeding, Automatic Detection |
| Programming Mode | Teaching Function, CNC Automatic Positioning | |
| X-Ray Housing | Size | about 2000㎜* 1150㎜ *1780㎜ |
| Weight | about 1500 kg | |
| Power | Power Supply | AC110-230VAC, 50/60Hz |
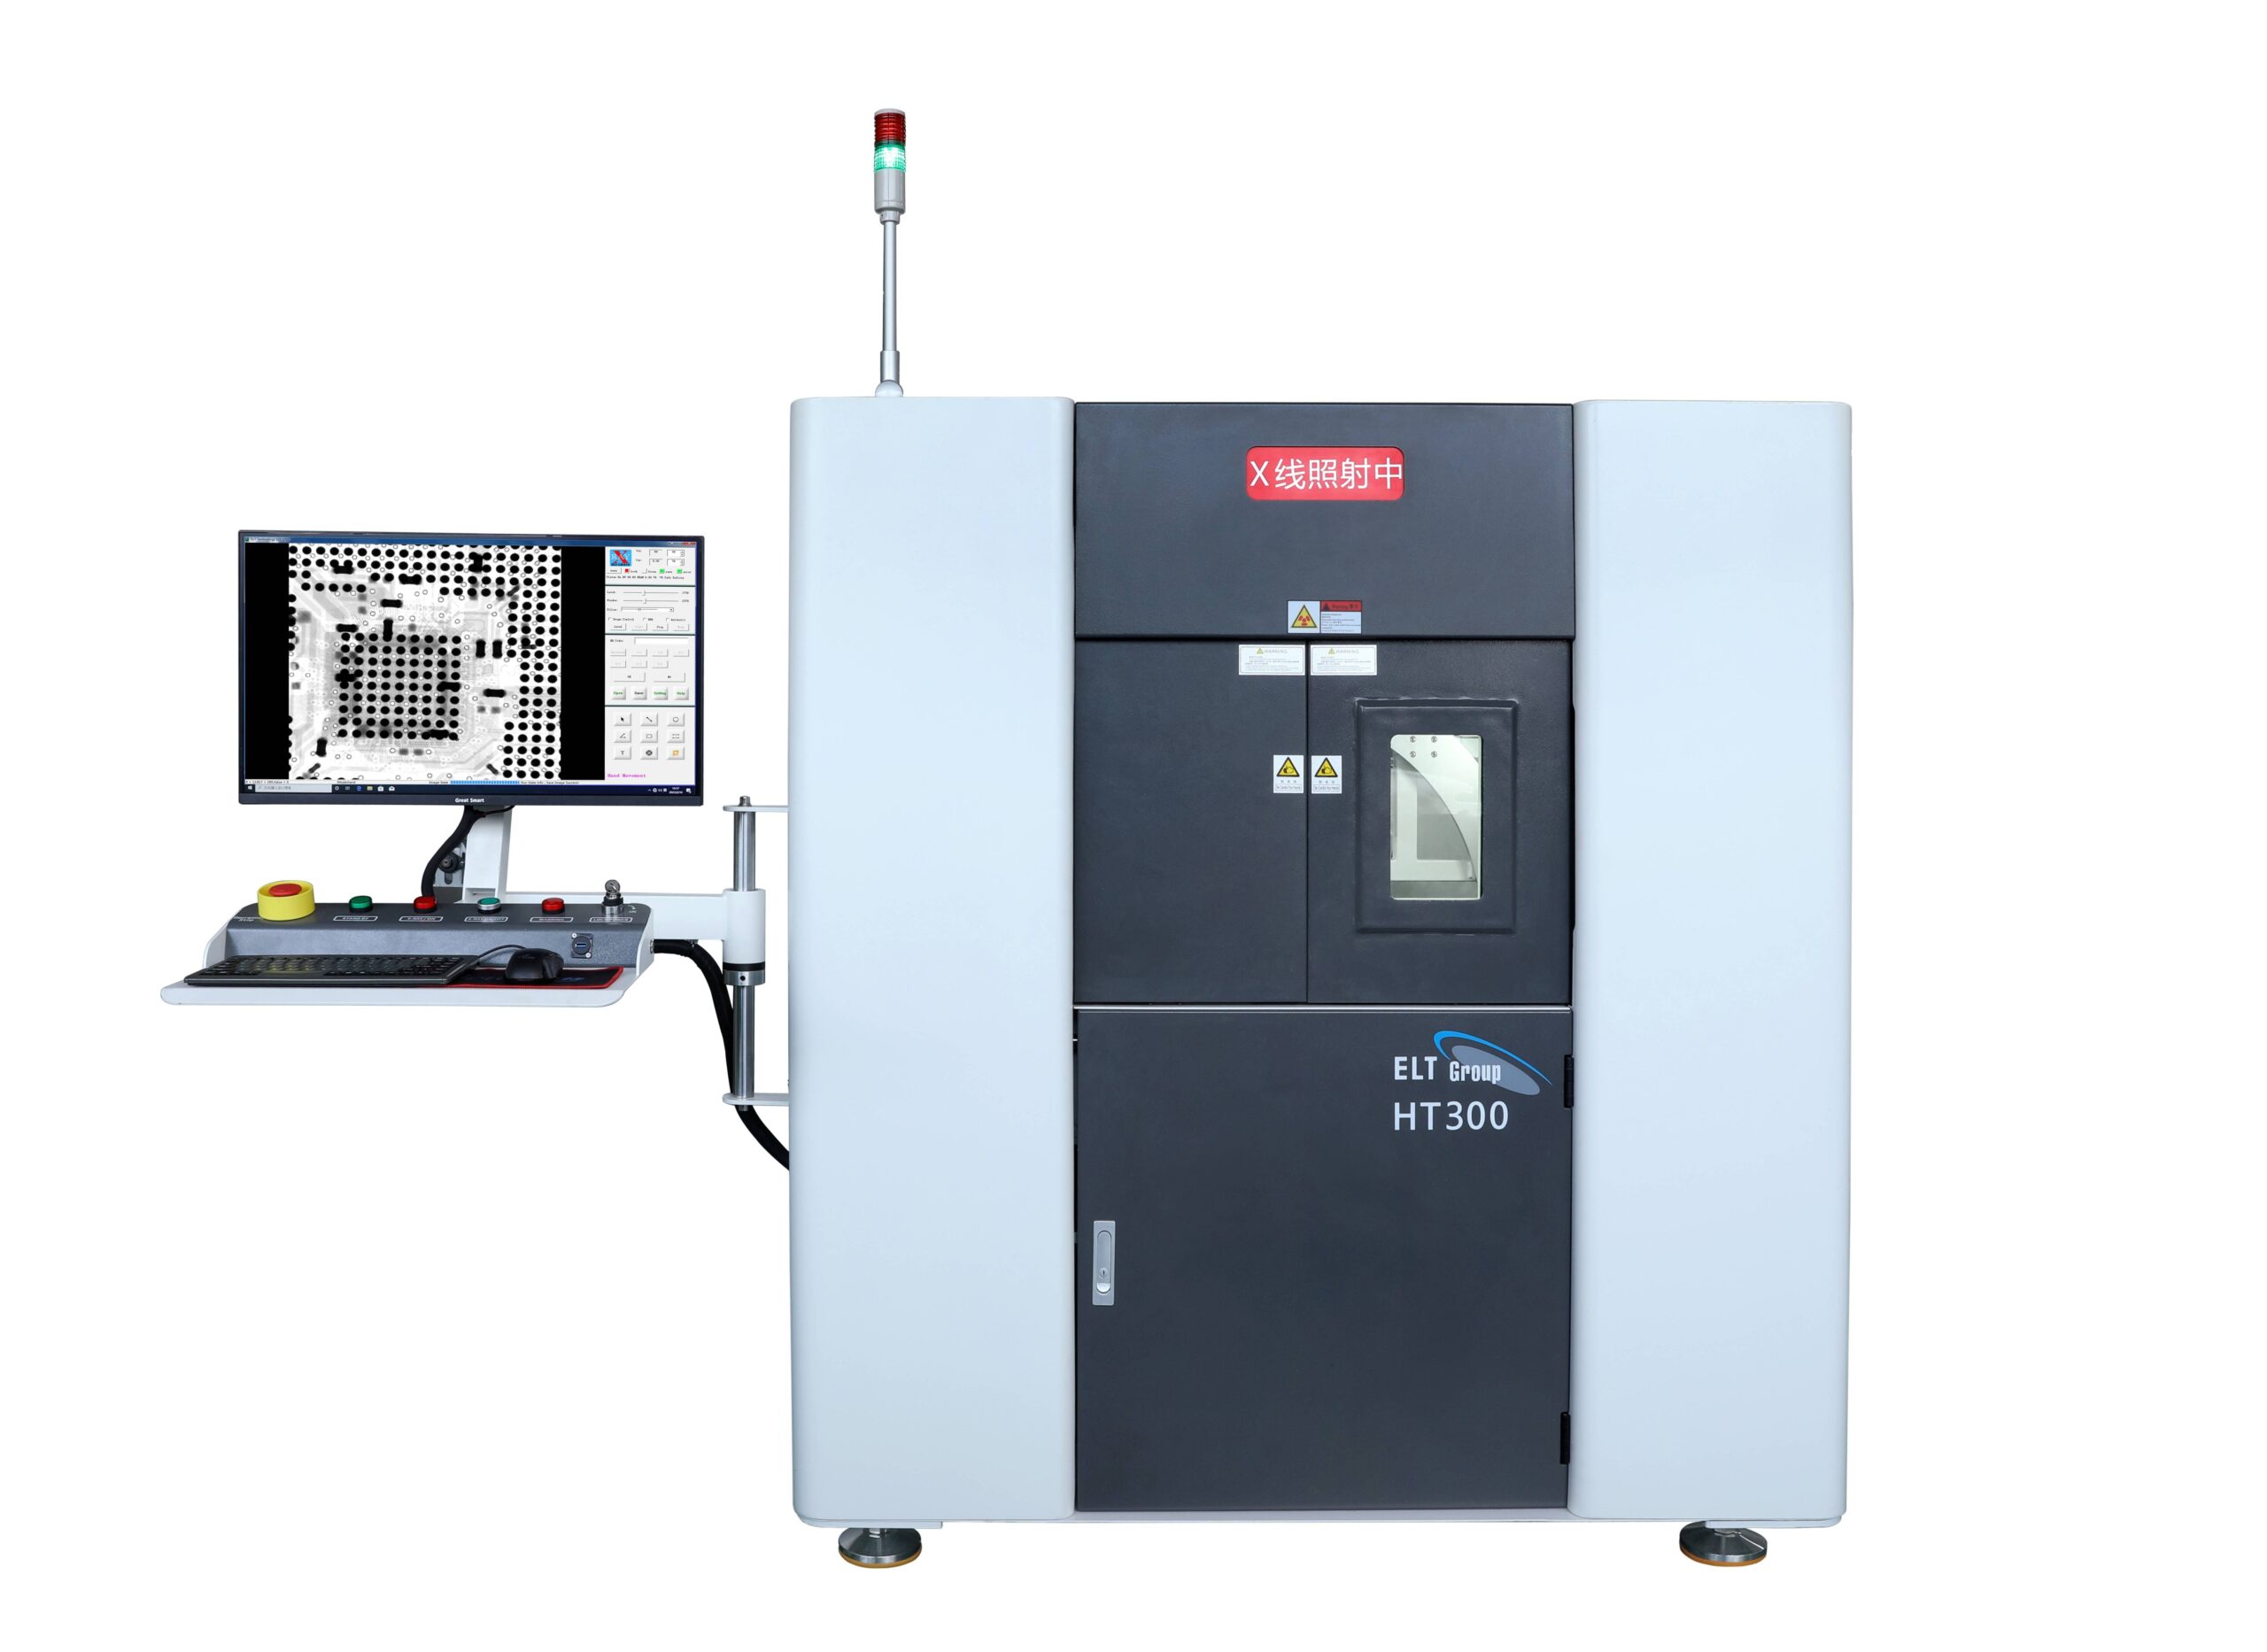
Electronics X-ray Inspection | HT300:
Discover our high-performance inspection system, designed to meet universal inspection requirements with a strong penetrating ray source and HD FPD, ensuring comprehensive and accurate detection for various applications.
Functions of HT300
- Powerful Penetration: Equipped with a strong penetrating ray source combined with HD FPD to deliver clear and detailed inspection results.
- Comprehensive Control: The detector tilts 70°, and the stage rotates 360° horizontally, with six-axis linkage providing all-round control and detection capabilities.
- High-Definition Navigation: Features high definition navigation images for fast and precise product positioning.
- Advanced Imaging and Measurement: Configured with HDR image enhancement and equipped with measurement tools for size, area, angular curvature, and more, ensuring thorough and accurate inspection.
Features of HT300
-
Top-Tier X-Ray Tube: Equipped with American Thermofisher’s closed-type X-ray tube, boasting over 10,000 hours of lifespan and unmatched reliability, perfect for precise inspections of electronic components, circuit boards, and solder joints.
- HD Digital Flat Panel Detector (FPD): Upgrade to ELT’s latest HD digital FPD for exceptional image quality without the need for an image intensifier. Ideal for both medical and industrial applications, ensuring clear, high-resolution imaging.
- Flexible Imaging: ELT’s FPD technology allows for a 70° tilt without sacrificing magnification, providing exceptional flexibility and accuracy for complex tasks, while eliminating the need for bulky tables and extra equipment.
- Advanced Navigation and Table Movement: Maximize efficiency with ELT’s automatic navigation window and advanced table movement technology, enabling precise positioning with a simple click and streamlining the workflow.
- Spacious and Sturdy Table: Featuring a 600*800 mm table with a 10 kg load capacity, our system provides ample space for diverse imaging tasks, ensuring clear and accurate results every time.
- Speed Adjustable 5-Axis Linkage System: Maintain central image positioning even when tilting, with adjustable speed for enhanced precision and reliable outcomes.
- Automated Inspection: Easily edit inspection procedures for automatic, large-scale inspections, achieving efficient and accurate results with minimal manual intervention.
- User-Friendly Operation: Quick defect detection with only 2 hours of training required, making it easy to operate and highly effective.
Choose ElectronicsTalk for cutting-edge, reliable imaging solutions that keep you ahead of the competition.
Detailed Specification
| X-Ray Tube | Tube Style | Seal Tube |
| Tube Voltage | 130KV | |
| Tube Current | 320uA | |
| Details Resolution | 2um | |
| Cooling Mode | Air Cooling | |
| Geometry Magnification Time | 300 Times | |
| Flat panel detector | Pixel Size | 85um |
| Pixel Matrix | 1536*1536 | |
| Effective Imaging Area | 130*130 | |
| FPS Speed | 20FPS | |
| A/D Conversion Digits | 16bit | |
| Sample Table | Sample Table Area | Diameter 500mm |
| Axis X | 500mm | |
| Axis Y | 500mm | |
| Axis Z1 | 300mm | |
| Axis Z2 | 300mm | |
| Axis Q | tilt70° | |
| Axis R | The sample table rotates horizontally360° | |
| Electrical Control | Control Mode | Image automatic navigation function, point to go there to go there, the whole keyboard, mouse operation positioning |
| Programming Mode | Teaching Function, CNC Automatic Positioning | |
| X-Ray Housing | Size | About 1450*1360*1600mm |
| Weight | about 1600 kg | |
| Power | Power Supply | AC110-230VAC, 50/60Hz |
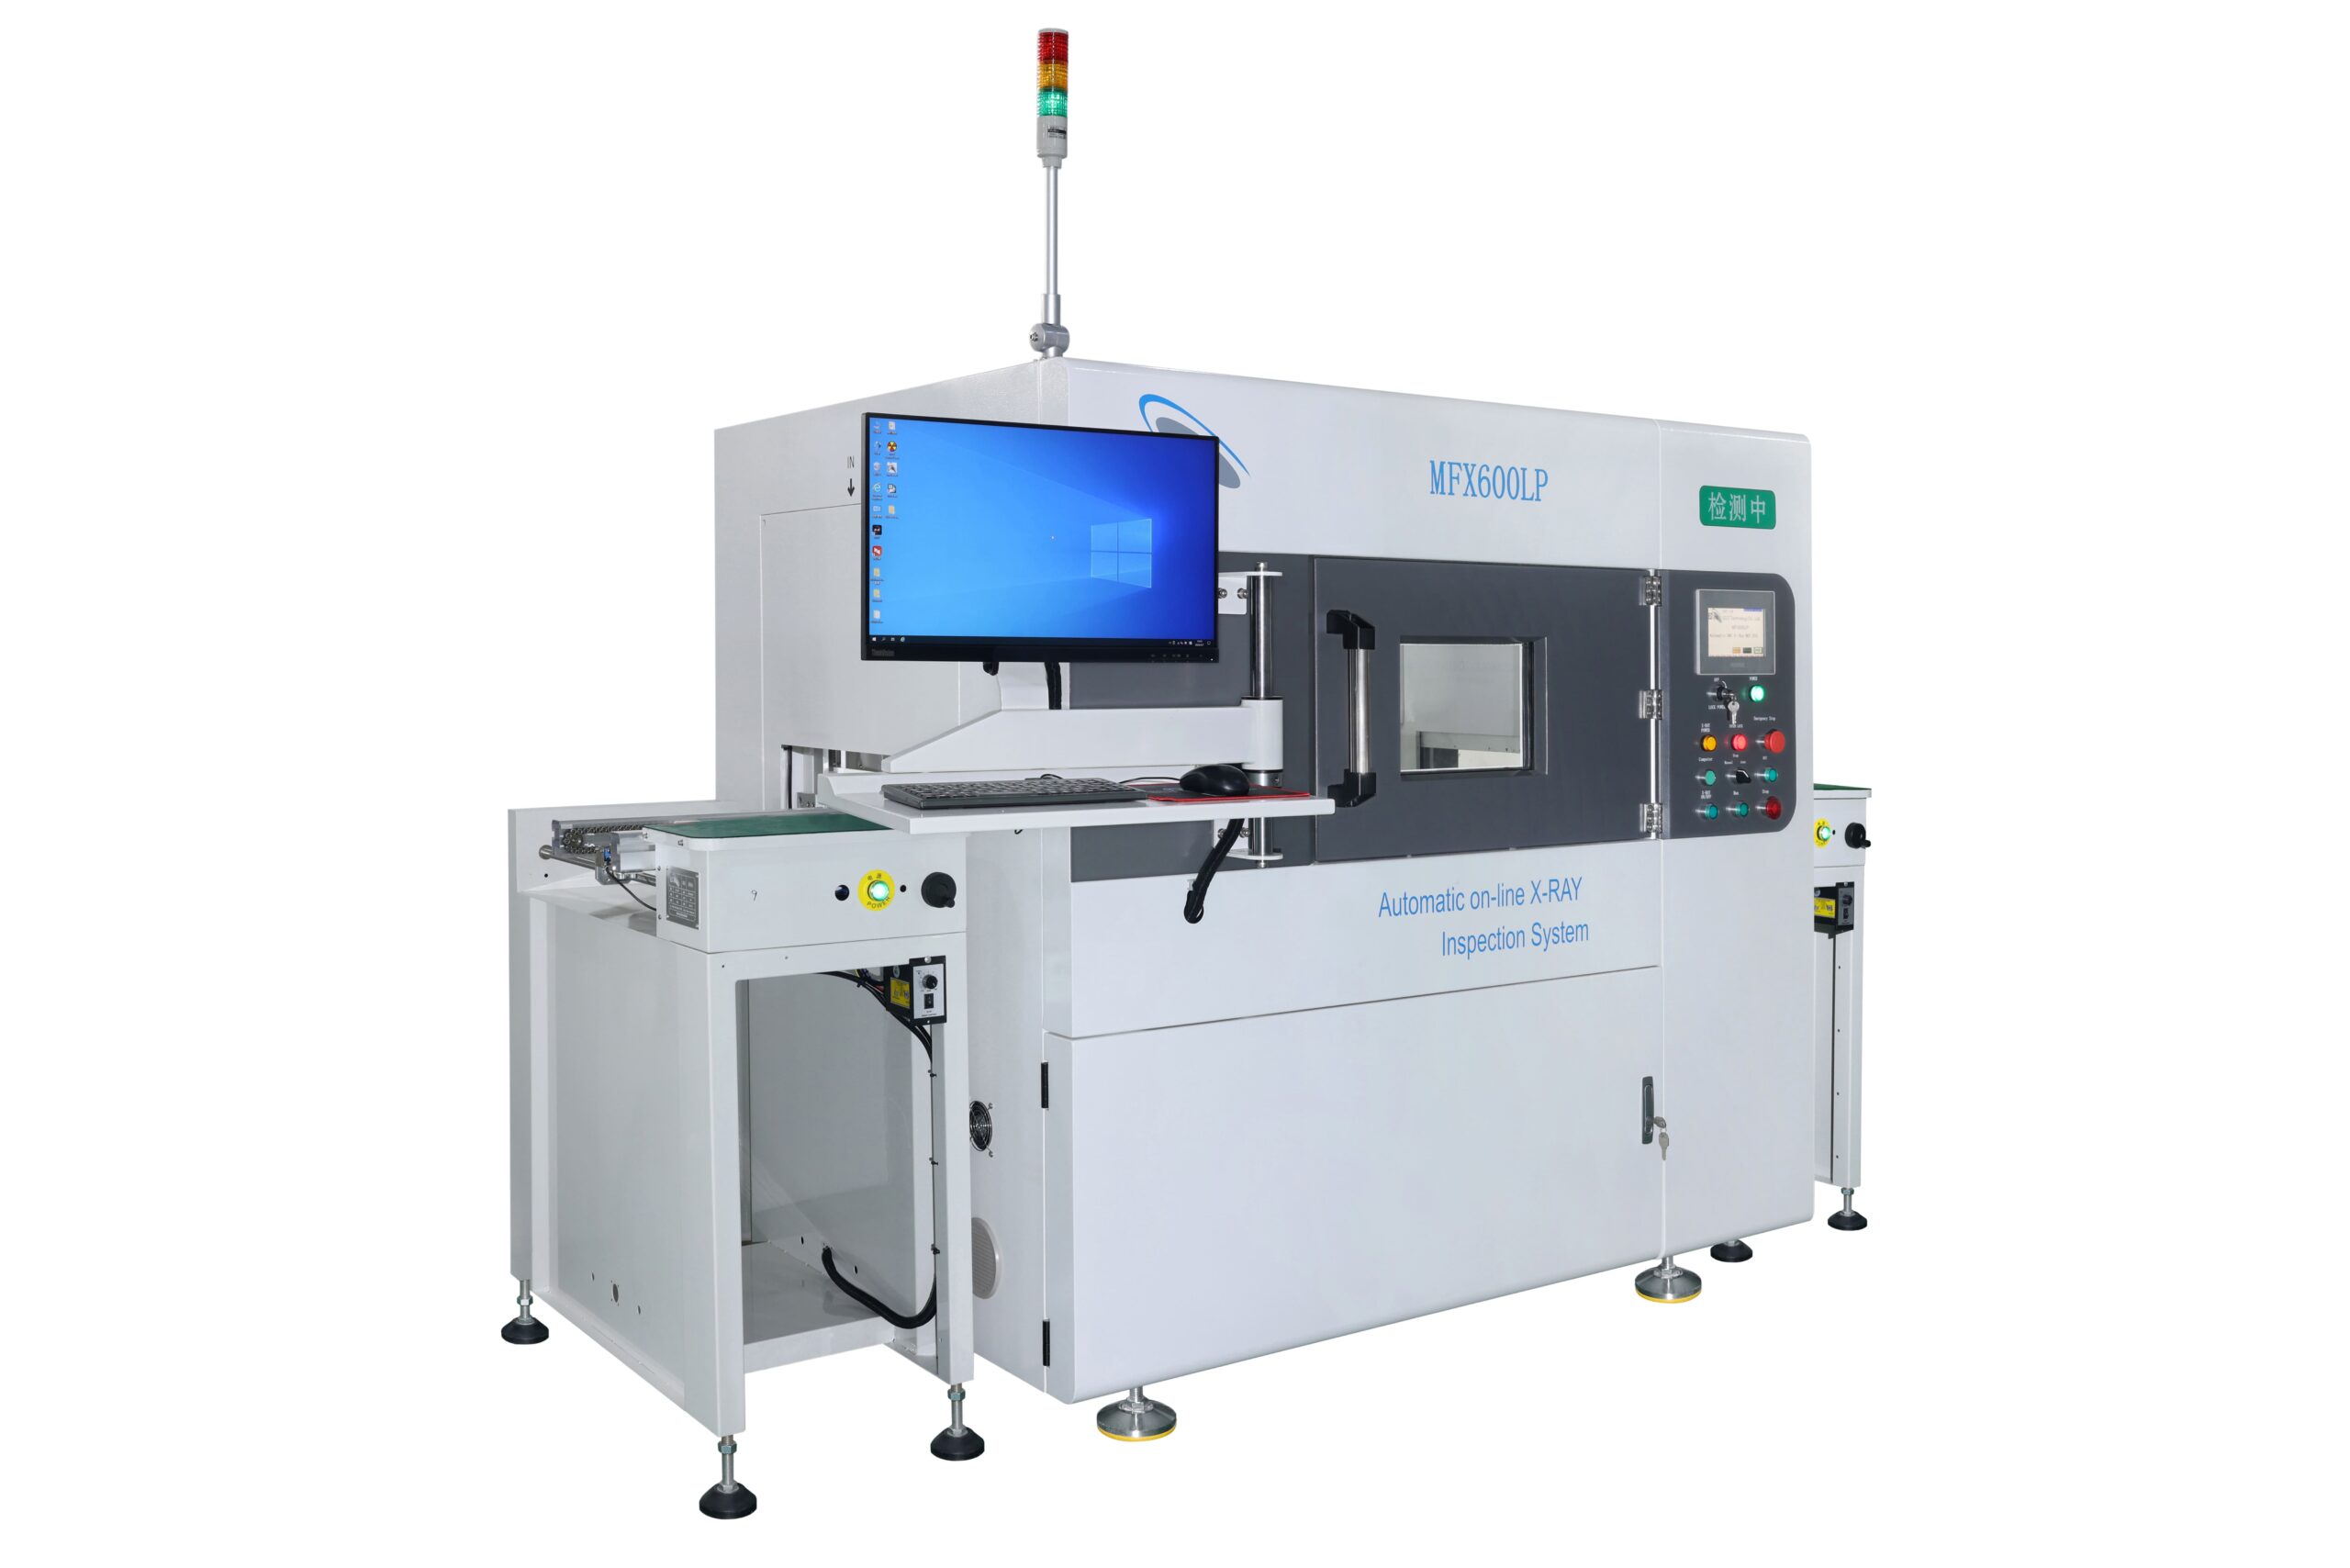
Electronics X-ray Inspection | MFX600LP:
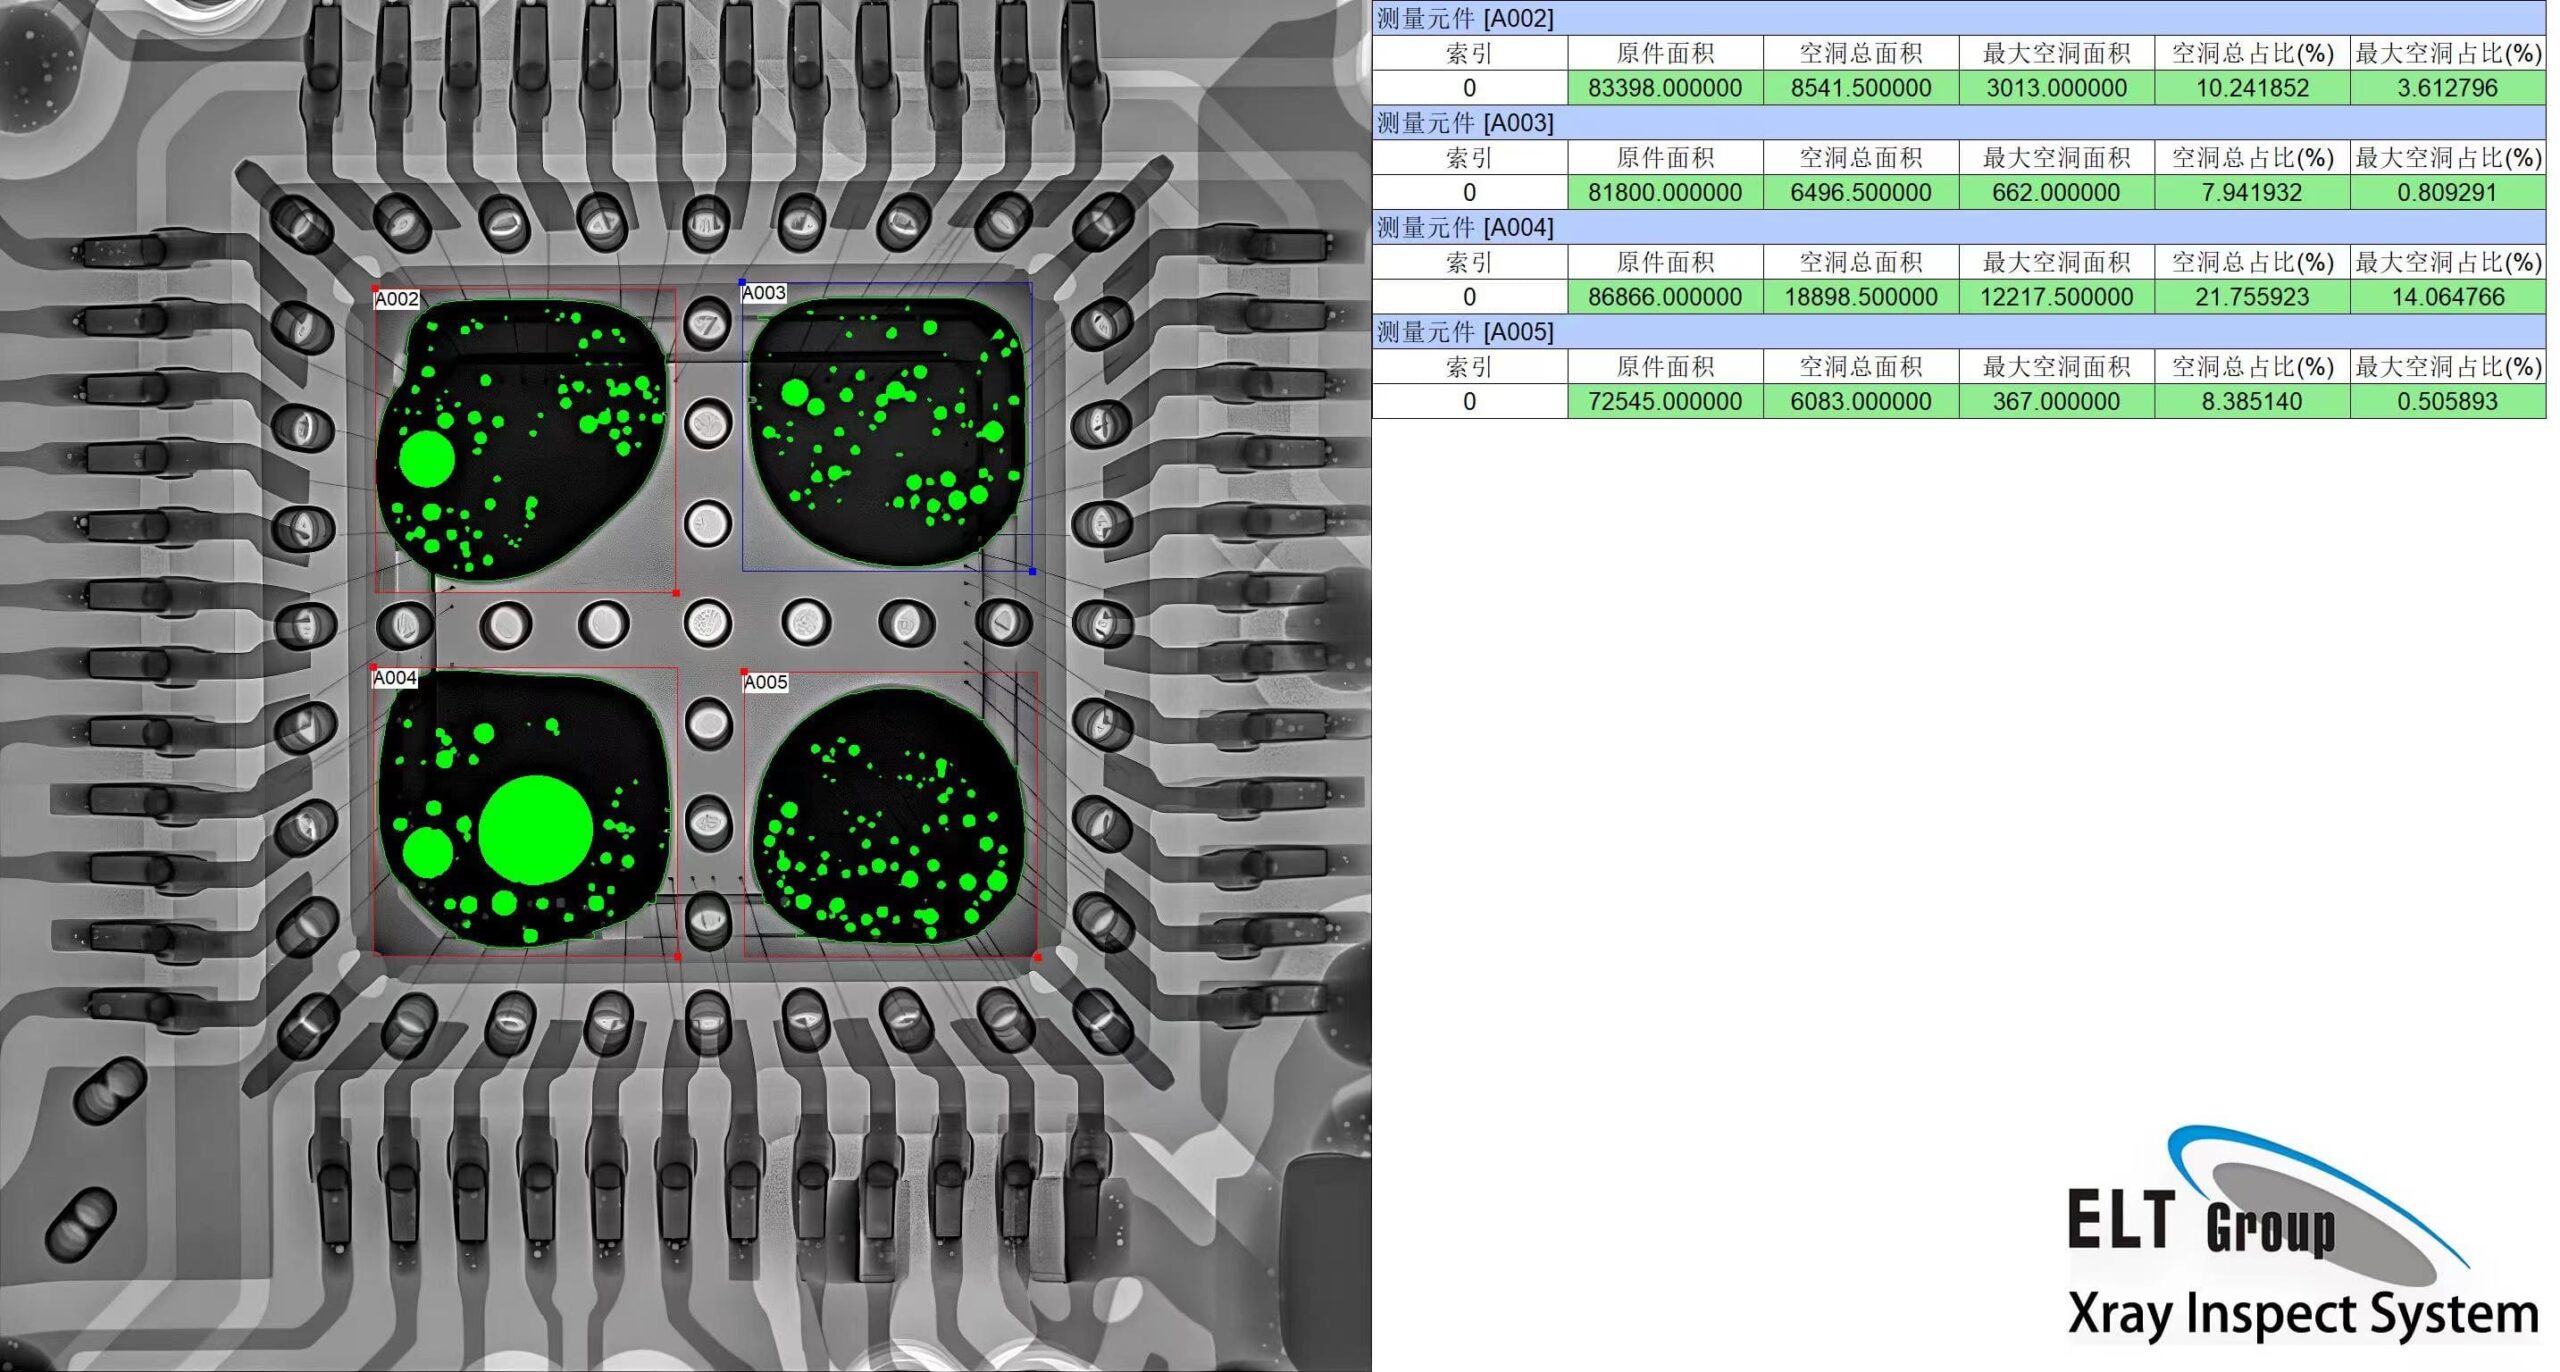
Our advanced inspection equipment is specifically designed for detecting BGA and chip components, nickel plate detection on metal plates, and FPC welding parts. It efficiently calculates bubble percentages, measures size and area, and analyzes internal defects such as low tin and virtual soldering in products.
Functions and Features
- Orbital Online Inspection: Provides continuous, real-time inspection for seamless quality control.
- Automatic Detection and Analysis: Automatically detects and analyzes components for OK & NG classification, ensuring high accuracy.
- System Integration: Supports customized access to MES and ERP systems for streamlined data management.
- Precision Control: Features CNC programming for automatic positioning, ensuring precise and reliable inspection.
- Comprehensive Data Management: Includes a rework database management system that supports the review and generation of detailed data reports.
Detailed Specification
| X-Ray Tube | Tube Style | Seal Tube |
| Tube Voltage | 130KV | |
| Tube Current | 320uA | |
| Details Resolution | 2um | |
| Cooling Mode | Air Cooling | |
| Geometry Magnification Time | 300 Times | |
| Flat Panel Detector | Pixel Size | 85um |
| Pixel Matrix | 1536*1536 | |
| Effective Imaging Area | 130*130 | |
| FPS Speed | 20 | |
| A/D Conversion Digits | 16bit | |
| Sample table | Sample Table Area | diameter 500mm |
| Axis X | 500mm | |
| Axis Y | 500mm | |
| Axis Z1 | 300mm | |
| Axis Z2 | 300mm | |
| Axis Q | Tilt70° | |
| Axis R | The Sample Table Rotates horizontally360° | |
| Electrical control | control mode | Image automatic navigation function, point to go there to go there, the whole keyboard, mouse operation positioning |
| Programming mode | Teaching function, CNC automatic positioning | |
| X-Ray Housing | size | about 1450*1360*1600mm |
| weight | about 1600 kg | |
| Power | power supply | AC110-230VAC, 50/60Hz |
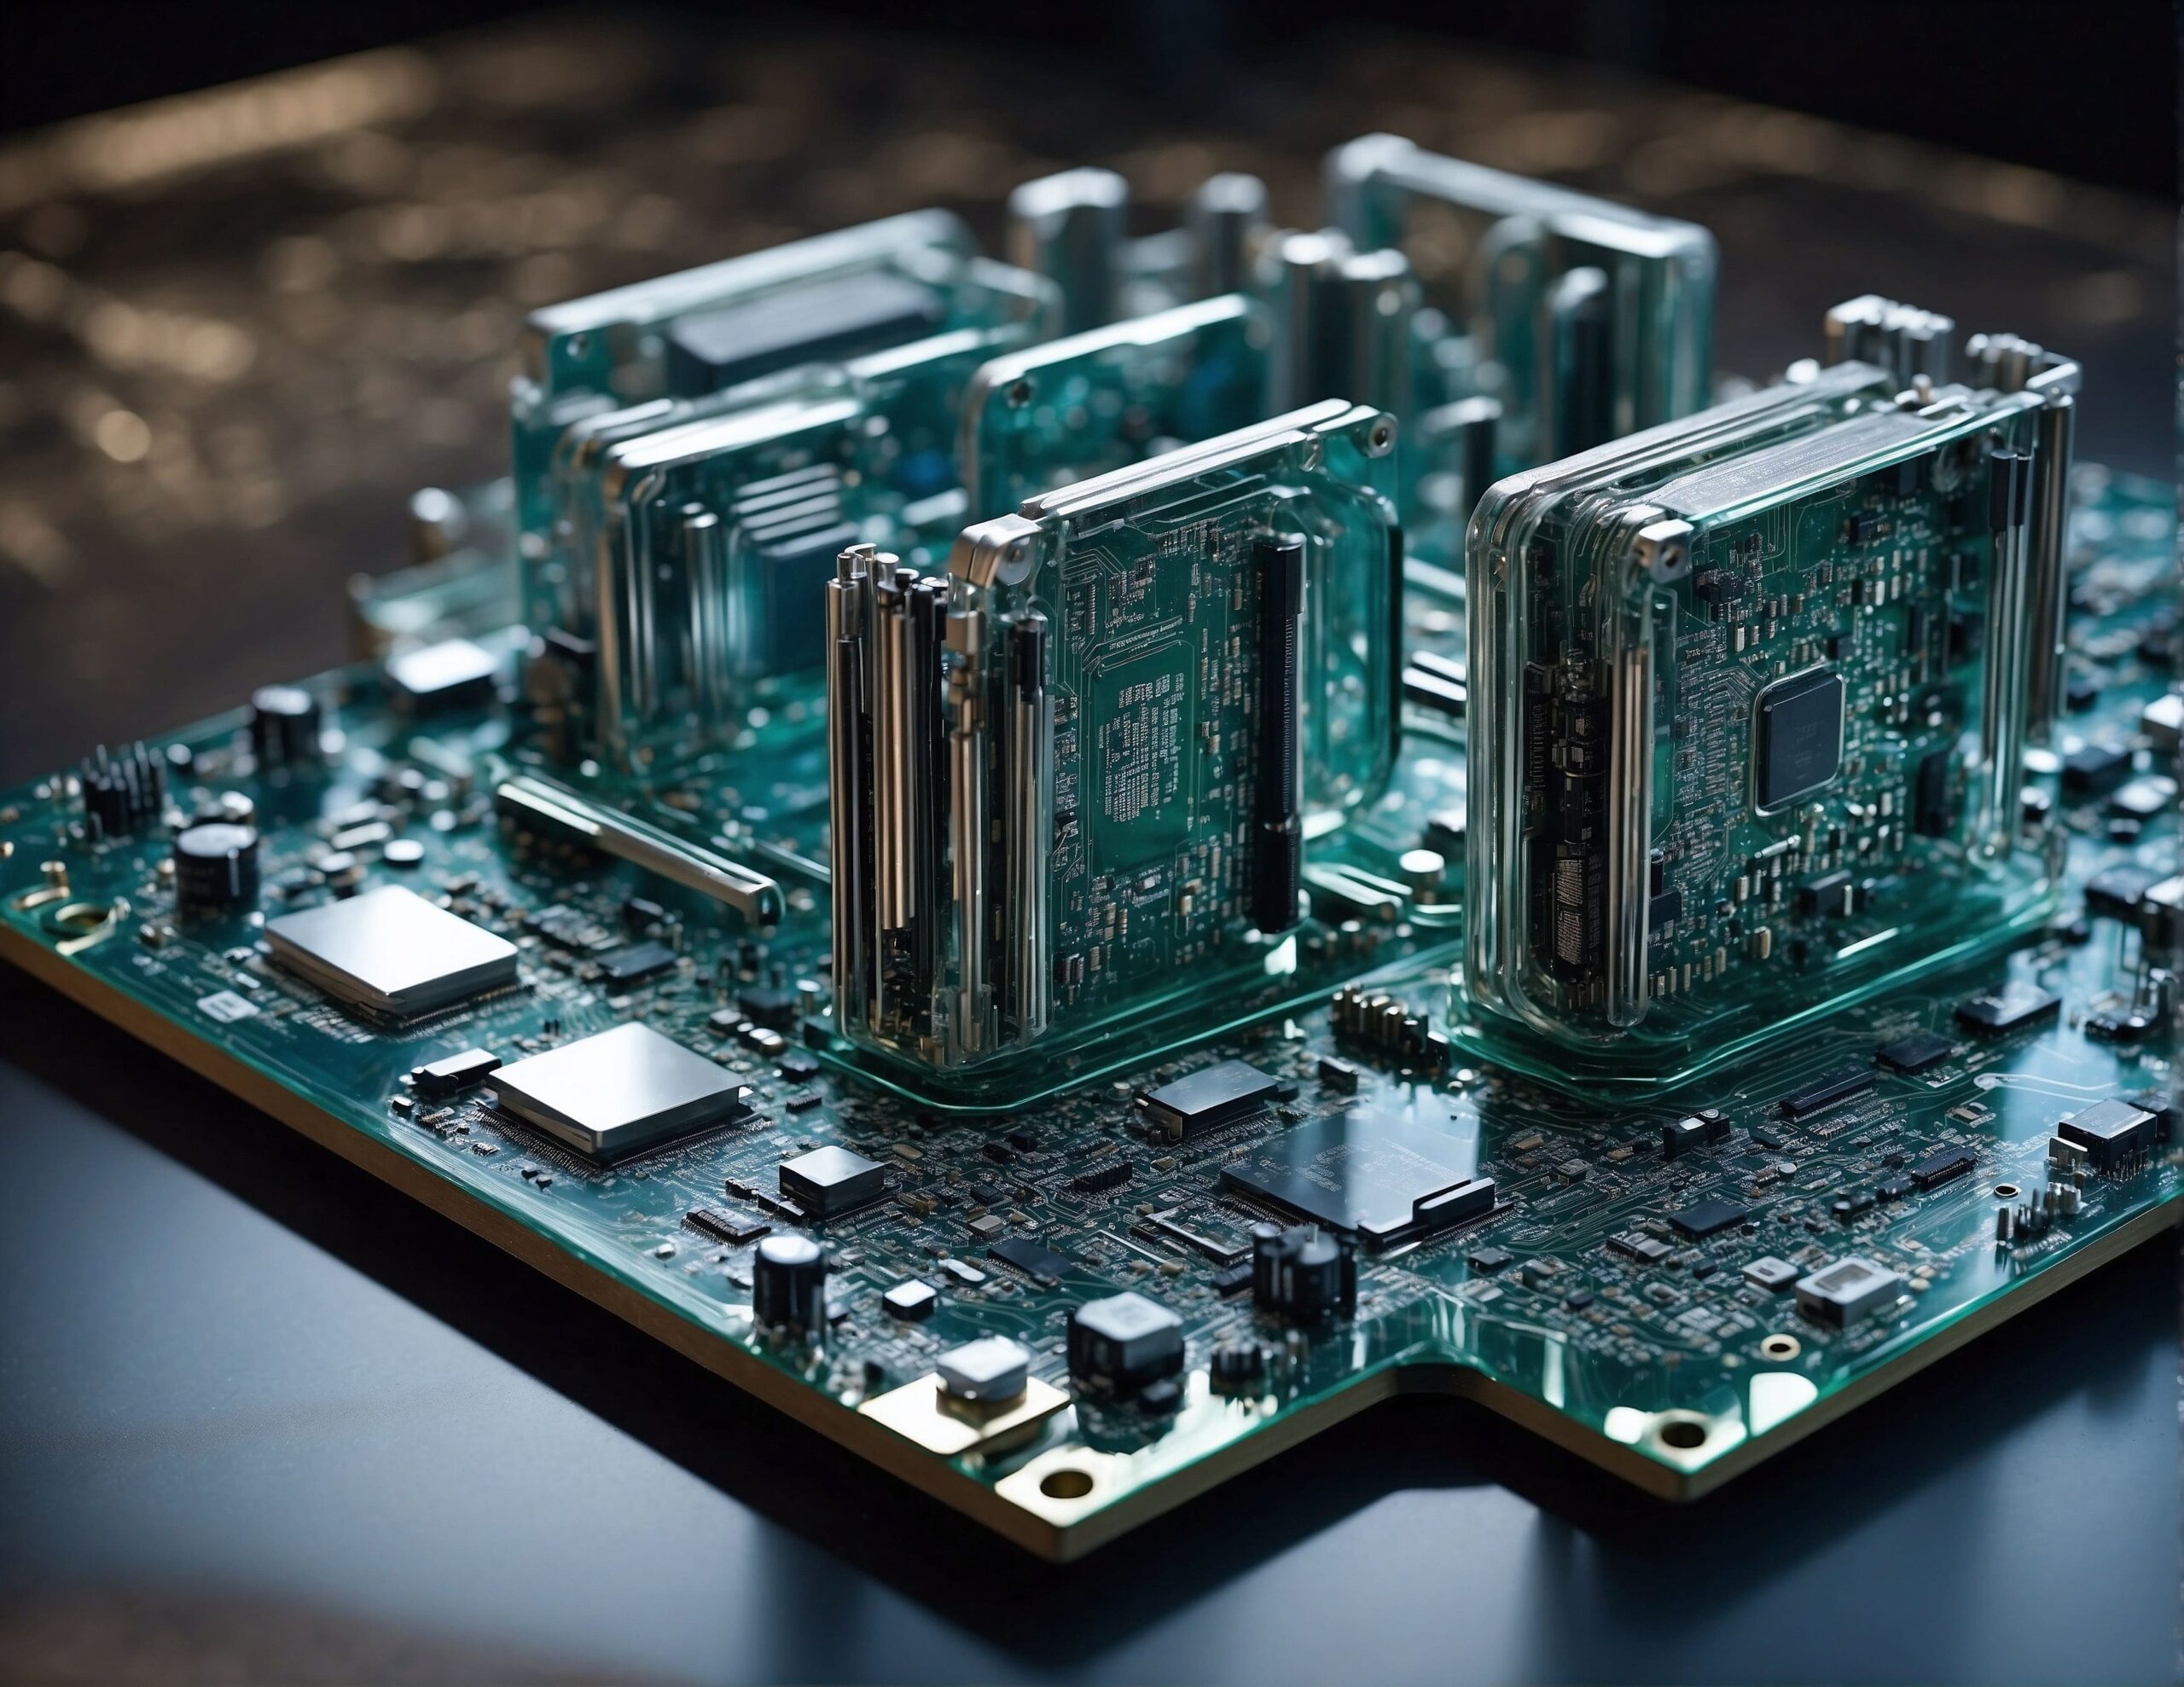
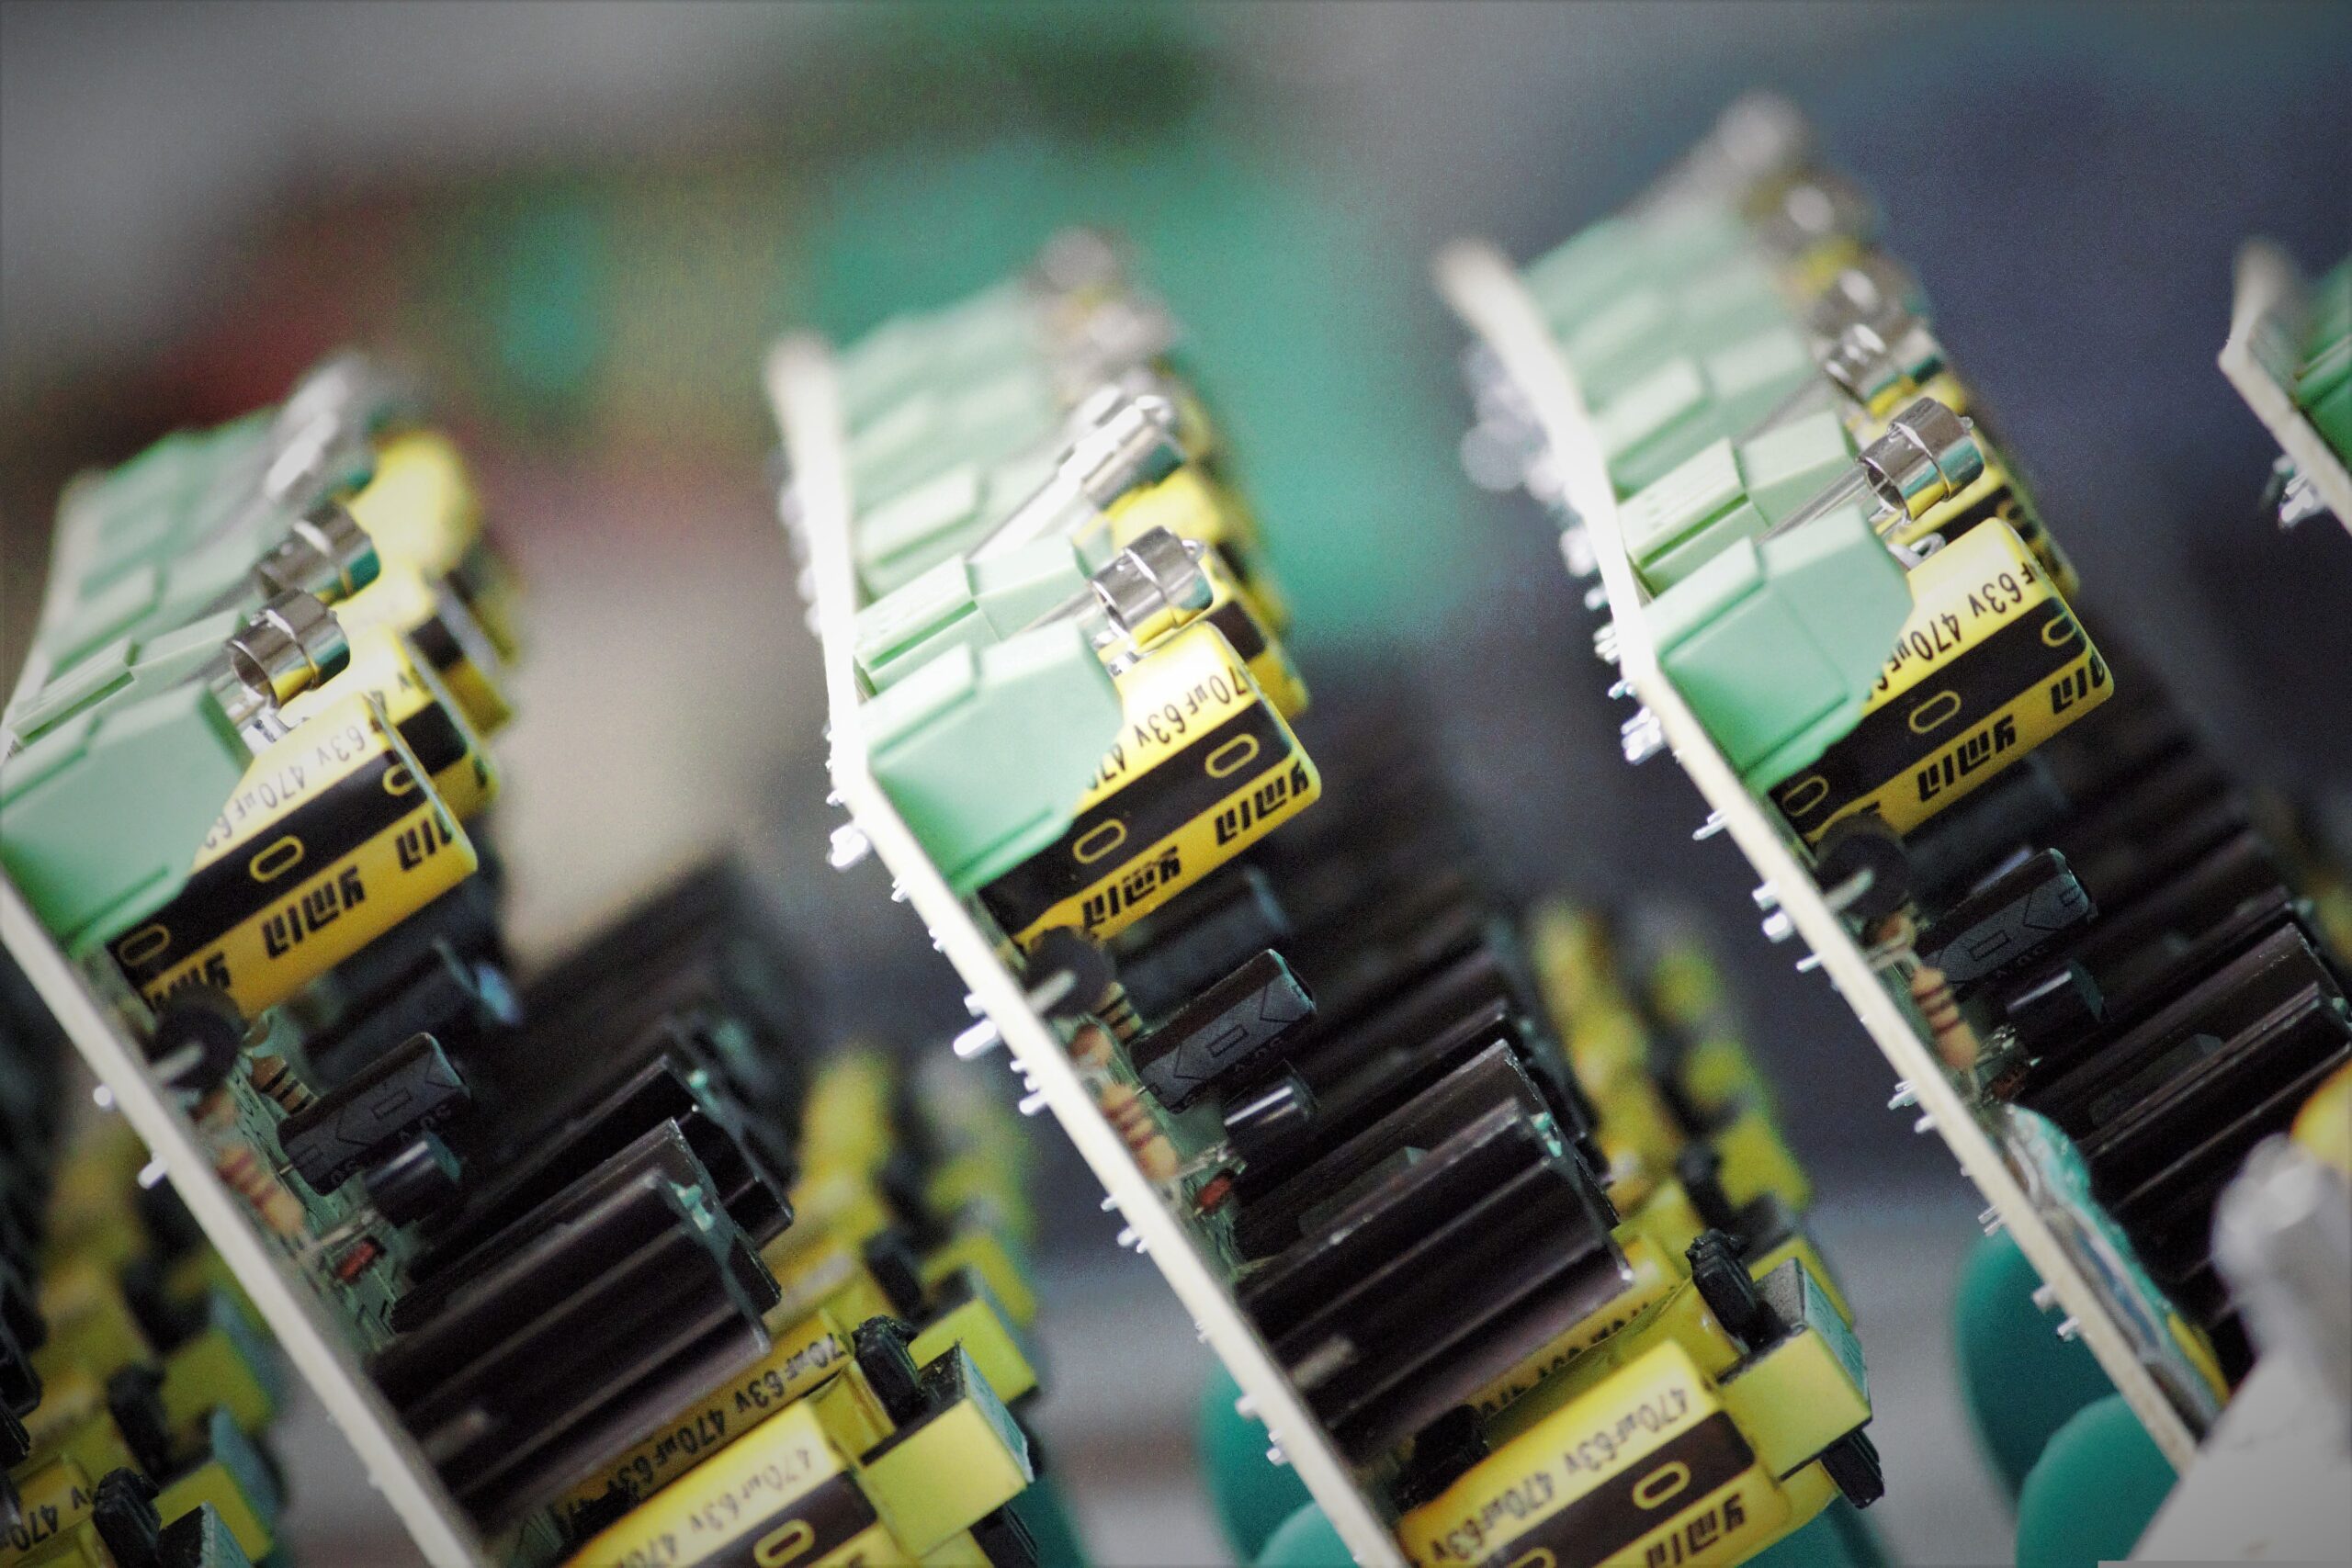
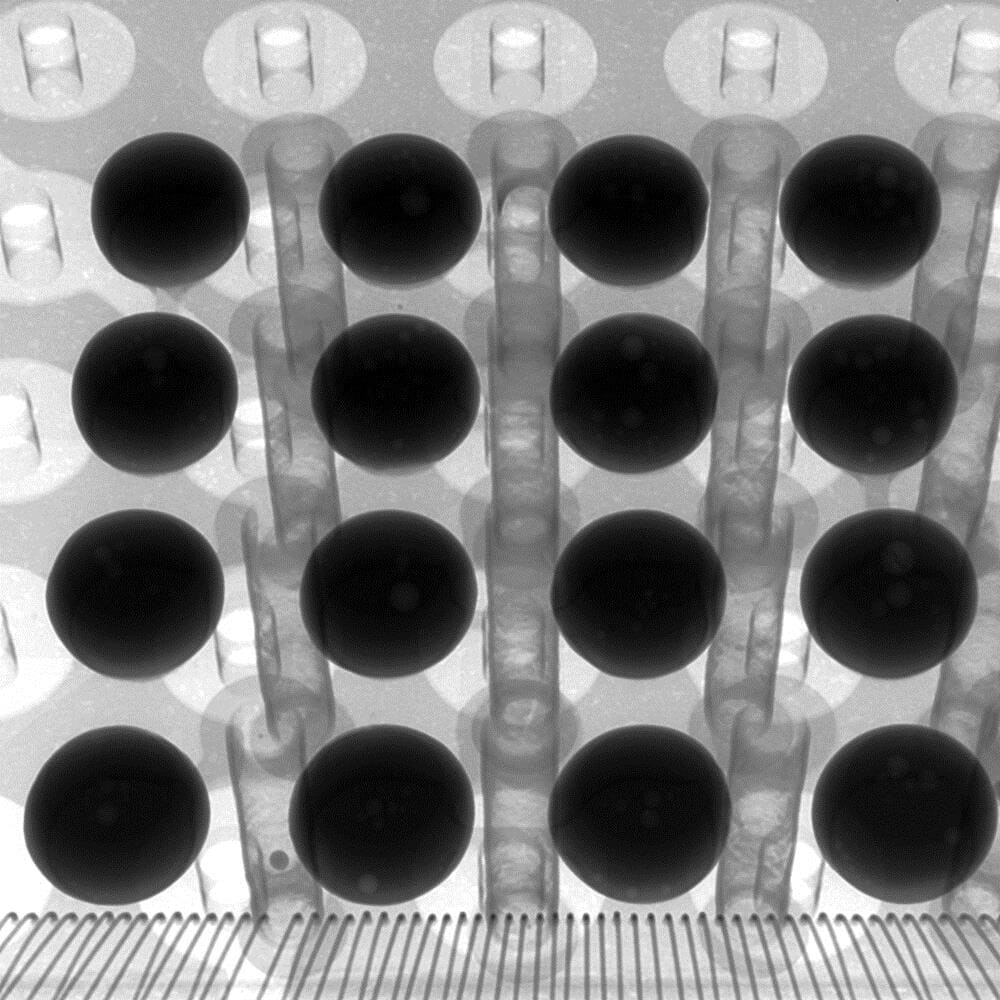
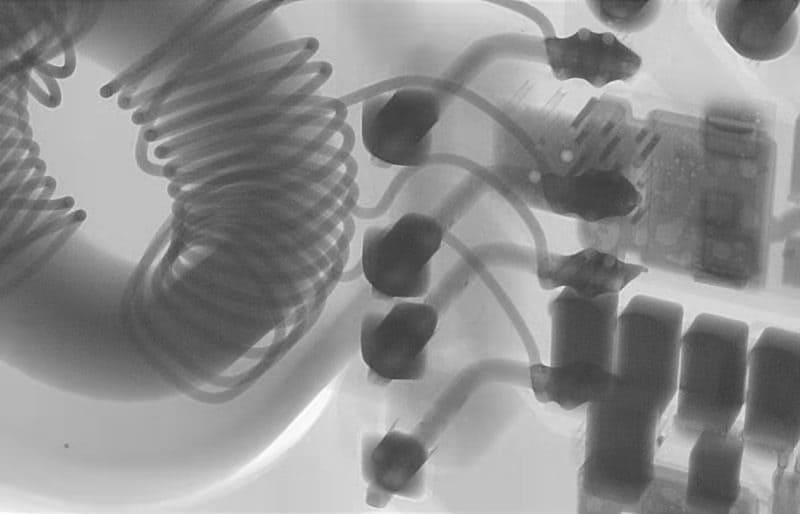
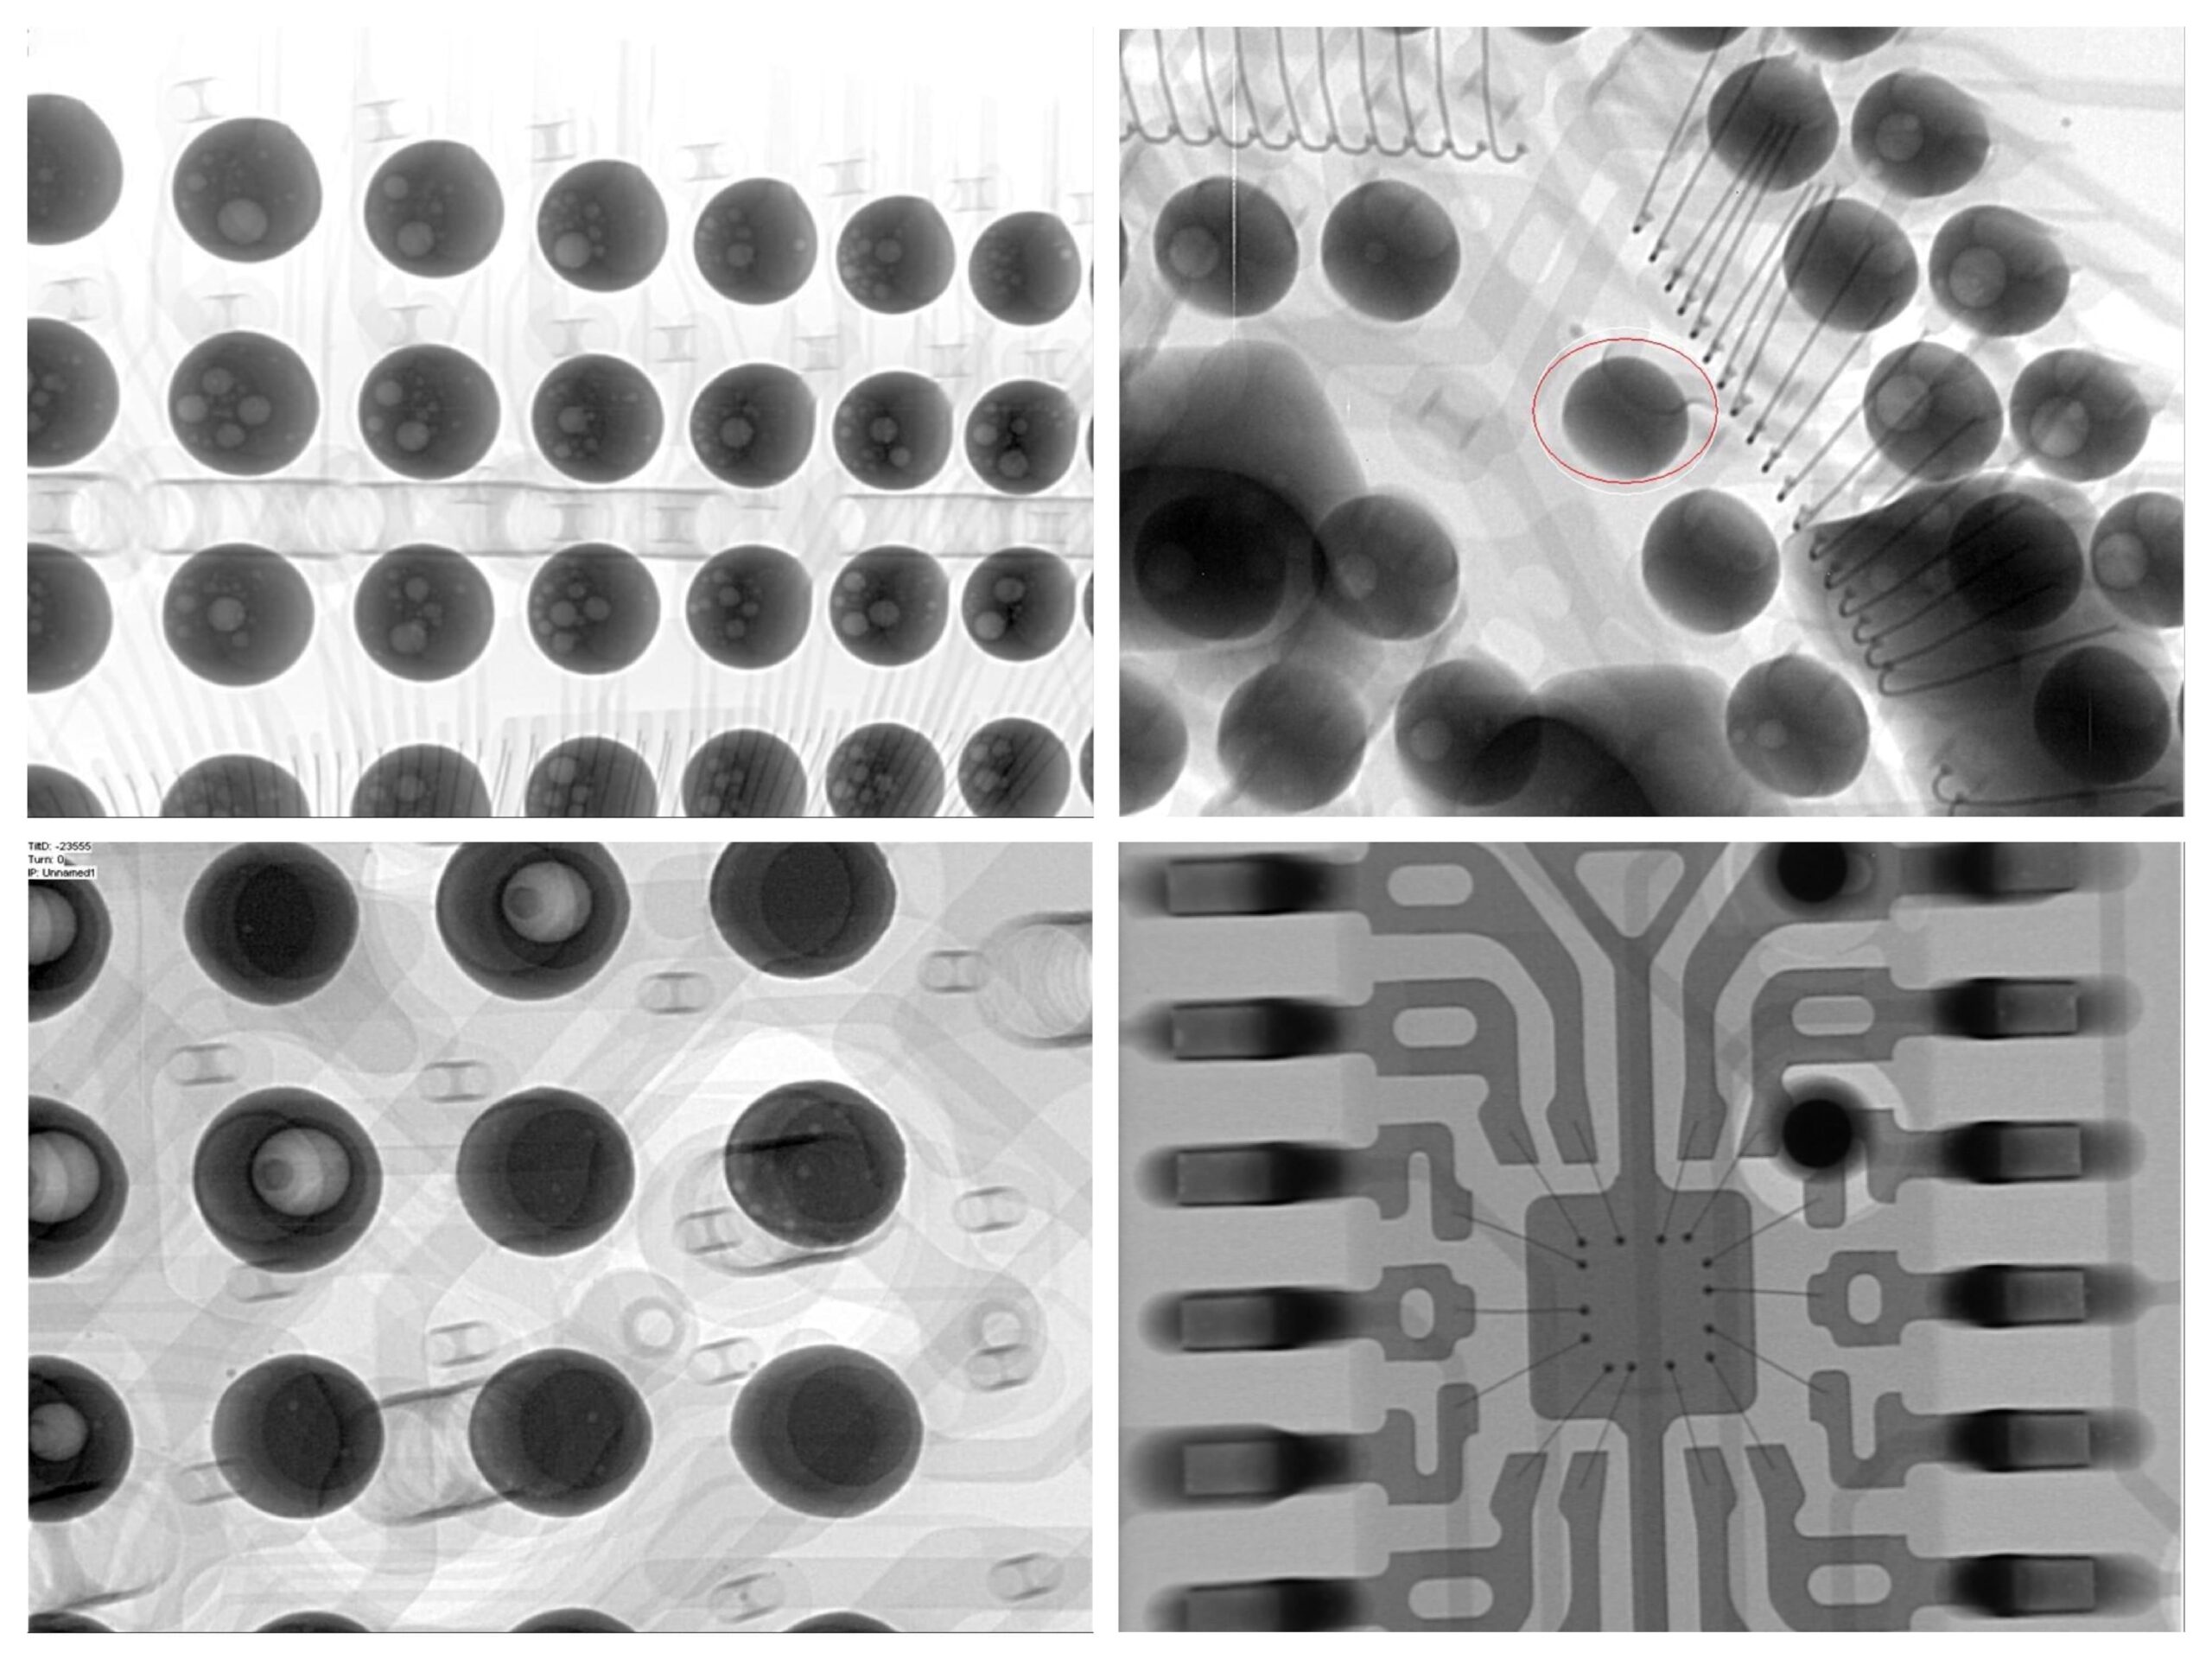
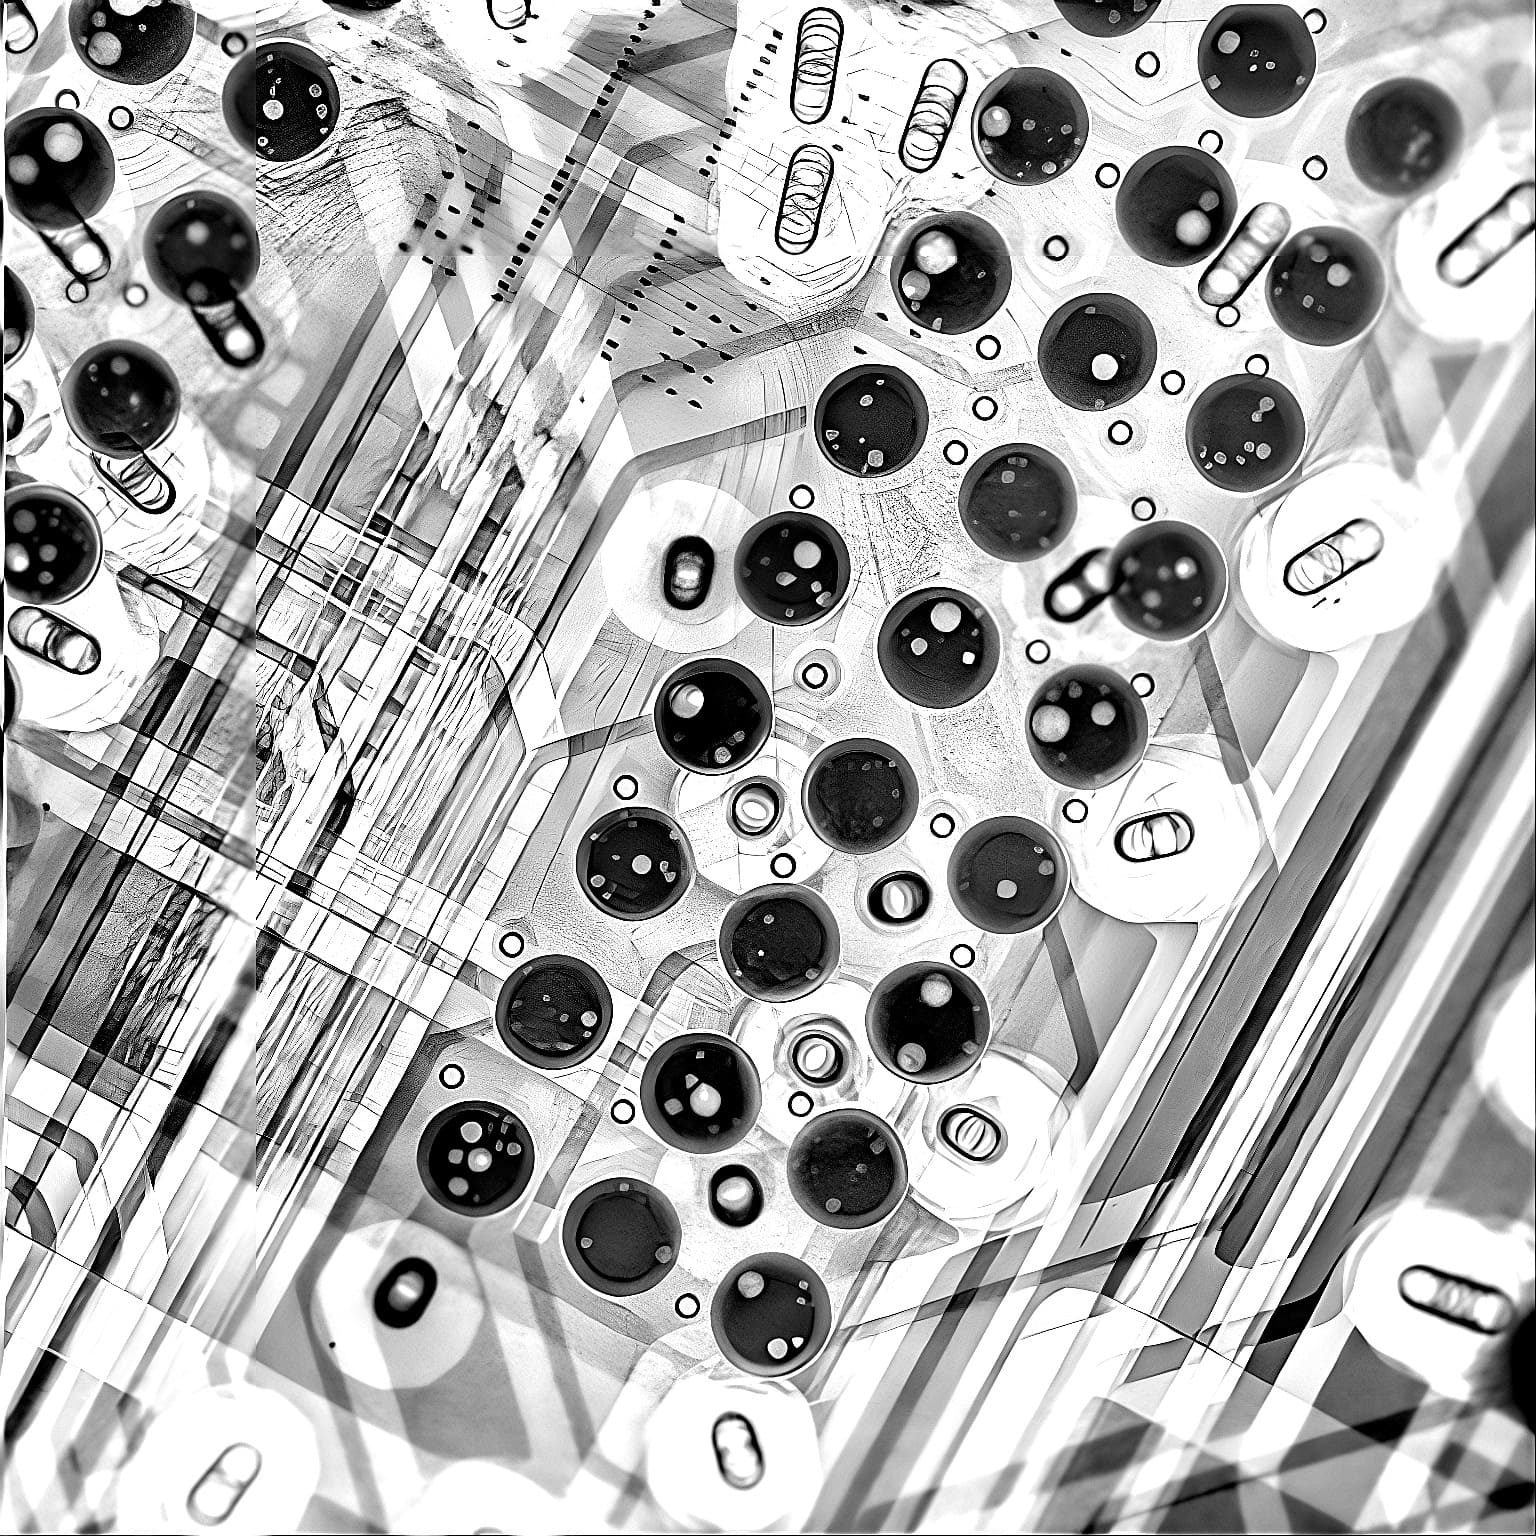
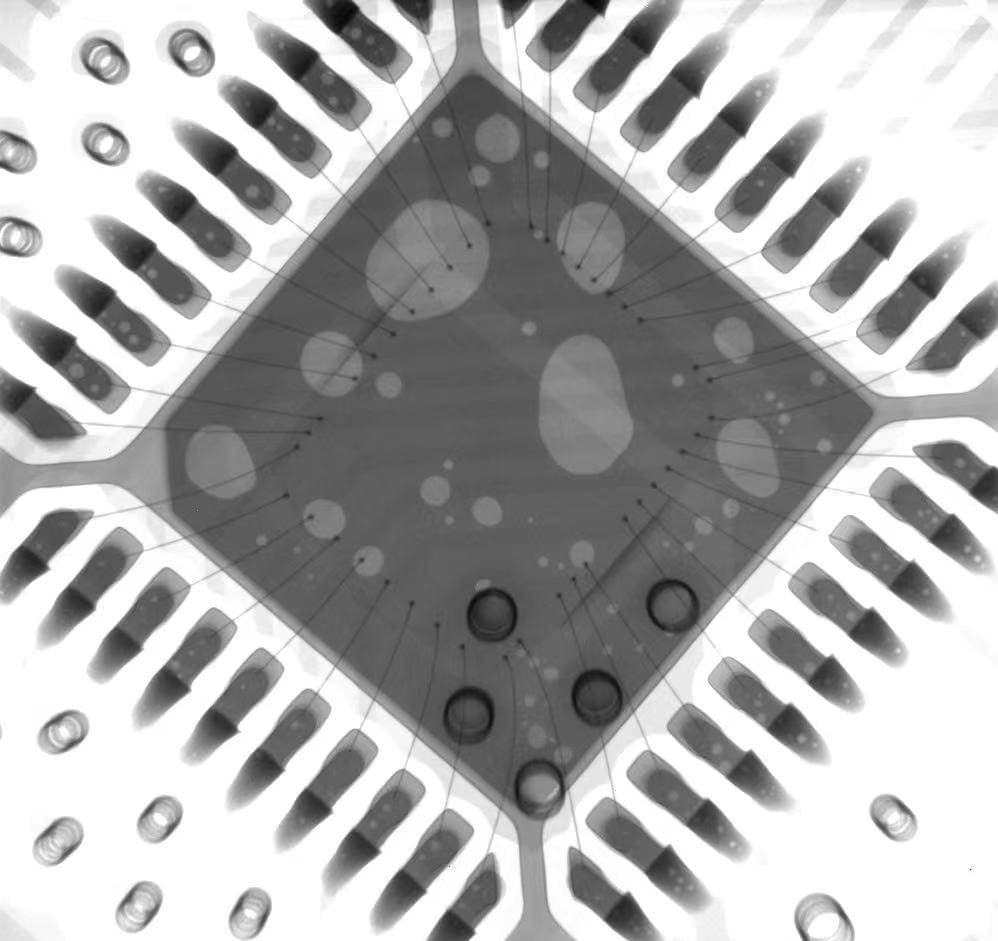
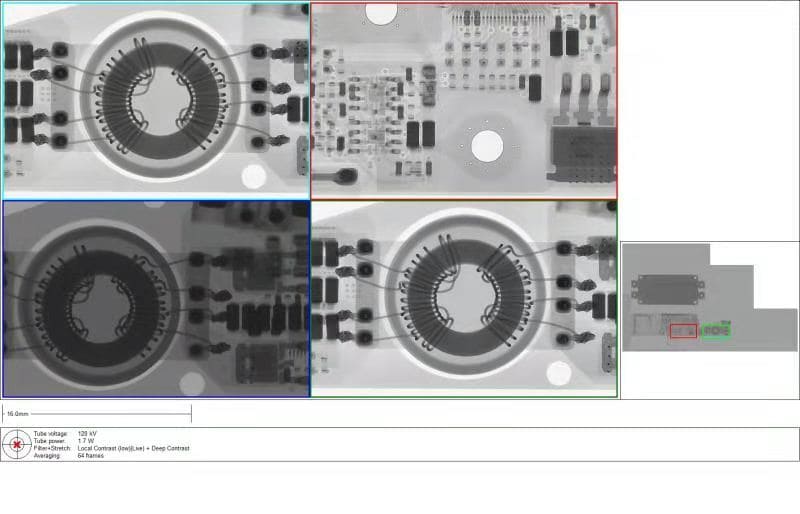
Application Product Samples
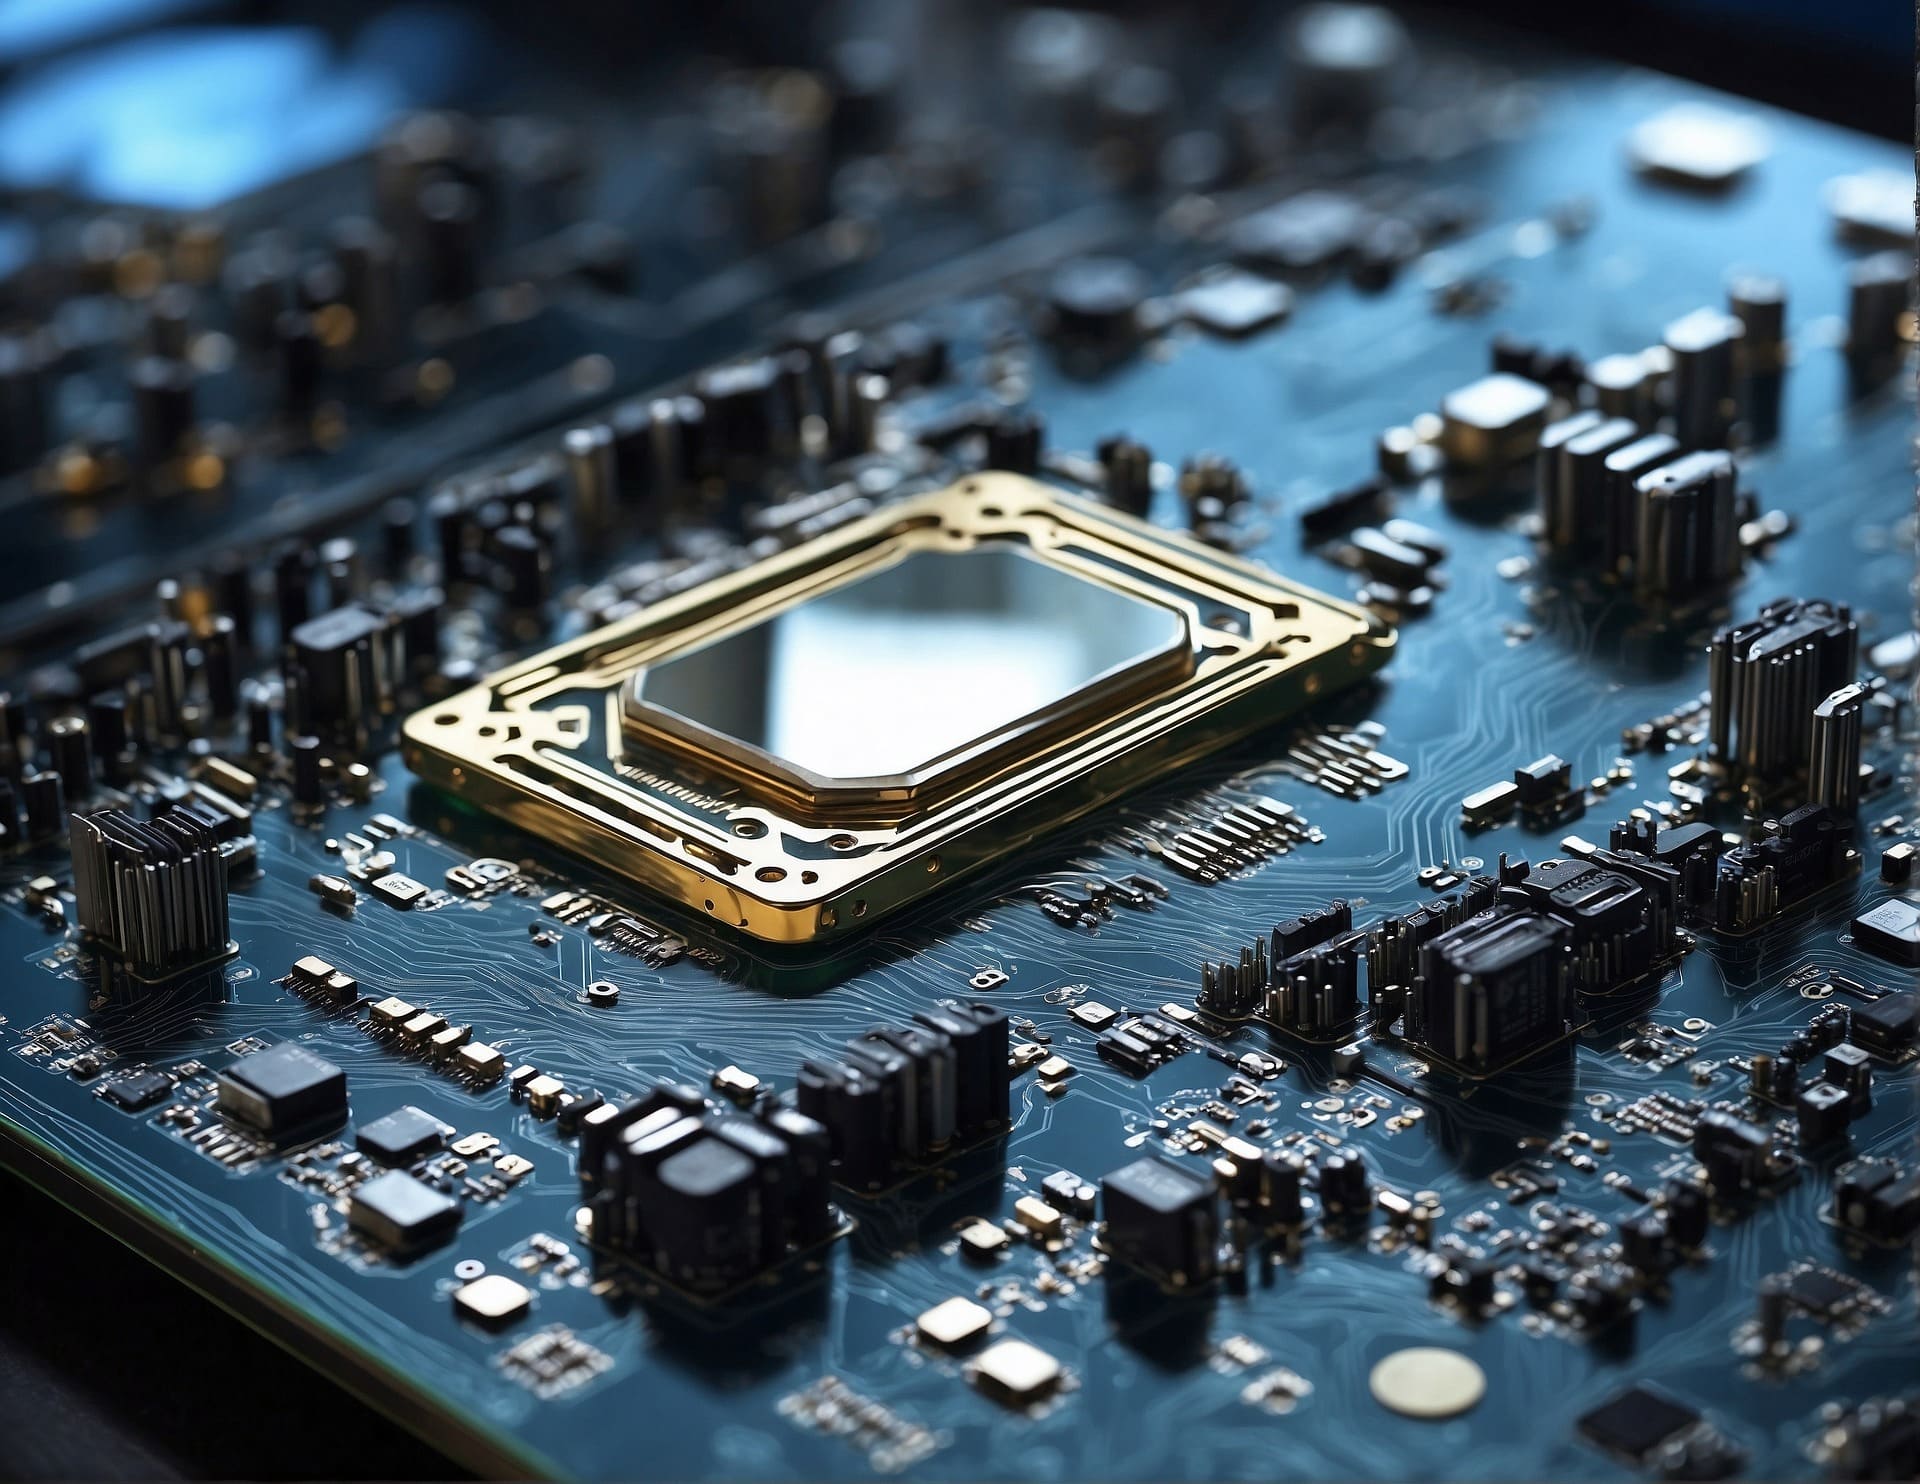

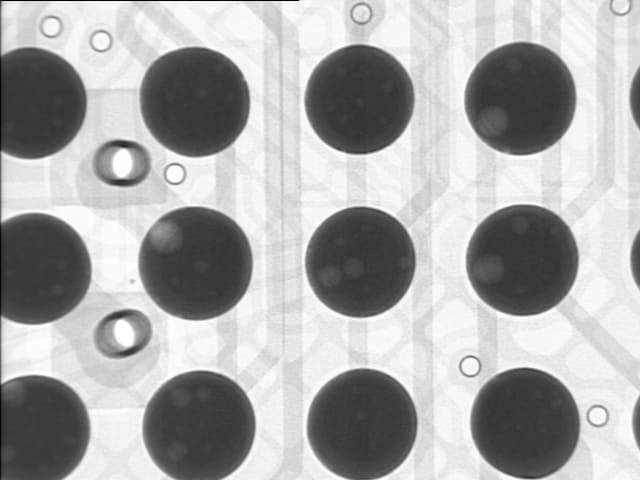
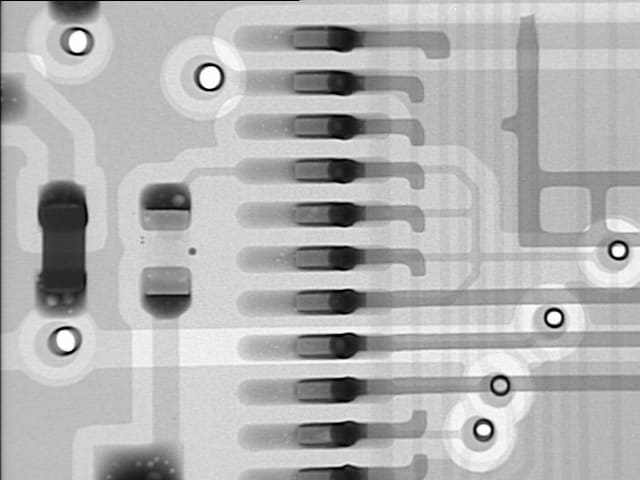
X-Ray Inspection Images
The Benefits of Using PCB X-Ray Inspection Machines
- High-Resolution Imaging: Detect microscopic defects such as cracks, voids, missing connections, or foreign objects with X-rays that penetrate boards and components. Achieve resolution down to a few microns.
- Rapid Whole-Board Inspection: Scan the entire board at once, enabling faster throughput and comprehensive defect detection compared to section-by-section visual inspections.
- Repeatability and Objectivity: Machine inspection ensures consistent and objective results, improving quality control over manual visual inspection which can vary between operators.
- 3D Inspection Capability: Generate 3D models of boards and components for thorough inspection from all angles.
- Versatility in Board Sizes: Adjust the X-ray camera setup to accommodate both small boards and large panels, without size limitations found in optical inspection.
- Material Agnostic: Inspect complex multi-material boards as X-rays penetrate metals, plastics, ceramics, and more, regardless of component type and board thickness.
- Detects Various Issues: Identify solder defects, contaminants, placement accuracy issues, misalignments, and more, ensuring comprehensive quality control.
- Implementing X-ray PCB inspection improves product quality and reliability through high resolution, rapid throughput, and the ability to detect minute defects.
Key Factors to Consider When Choosing a PCB X-Ray Inspection Machine
- Image Resolution: Higher resolution, typically measured in microns, allows detection of smaller defects. Sub-micron resolution is optimal.
- X-Ray Source Power: Higher power sources (30-160kV) penetrate thicker and denser boards.
- Detector Technology: CMOS detectors offer faster scanning and lower noise than CCDs. Consider resolution and pixel size.
- Size and Thickness Capacity: Ensure the machine can handle the maximum PCB size and thickness of your products.
- Conveyor Speed: Higher speeds (10-200mm/second) enable greater throughput, crucial for high-volume production.
- Software Capabilities: Robust software for image analysis, defect detection, and report generation with sufficient analysis tools.
- 3D Inspection: Systems with 3D scanning capabilities offer thorough inspection for complex boards.
- Price: Balance initial cost, ongoing maintenance, and consumable costs with capabilities.
- Footprint: Consider the available factory floor space for larger systems.
- Ease of Use: Intuitive software and controls reduce training costs.
- Company Reputation and Support: Opt for established vendors with reliable support.
Considering these factors helps identify the right X-ray system that meets inspection requirements within budget constraints.
Latest Trends in PCB X-Ray Inspection Machines
- Higher Resolutions: Microfocus X-ray sources enable sub-micron resolution imaging to detect microscopic defects.
- Faster Line Scan Rates: High-speed line scan cameras reach over 200mm/second conveyor movement for rapid inspection.
- Integrated 3D Inspection: Incorporating 3D X-ray imaging for complete board visualization.
- AI-Enabled Defect Recognition: Machine learning automates analysis and defect identification without operator input.
- Large Panel Inspection: Development of larger conveyors and scanning areas to handle PCB panels over 2×2 feet.
- Dual Angle Inspection: Scanning boards from multiple angles for more complete inspection.
- Inline Integration: X-ray systems integrated into manufacturing lines for live in-process quality control.
- Cloud-Based Imaging: Uploading scanned images to the cloud for remote analysis and data analytics.
- Virtual Reality Visualization: Viewing and manipulating scanned 3D board data in VR for immersive inspection.
- Automated Reporting Tools: Systems that generate inspection reports, trends, and analysis without extensive manual work.
These trends enhance X-ray inspection’s resolution, speed, automation, and integration into manufacturing, maximizing quality and minimizing defects.
X-RAY TECH INSIDER
INFO GUIDE
A Guide to: How to choose the perfect x-ray solution for your industry in 2024
U̶S̶$̶2̶4̶.̶9̶9̶
U̶S̶$̶2̶4̶.̶9̶9̶
Contact
+86-18929317246
[email protected]
Our location
3rd floor, Building 3, Yuheng Industrial Park No. 2 (Guangshen Highway), Tantou Community, Songgang, Baoan District, Shenzhen, Guangdong, P. R. China.
Social profiles
Let’s collaborate!
Whether you’re looking for cutting-edge X-ray solutions or expert technical support, our team is here to help. Contact us today to discuss your requirements and discover how ELT can partner with you for success.
